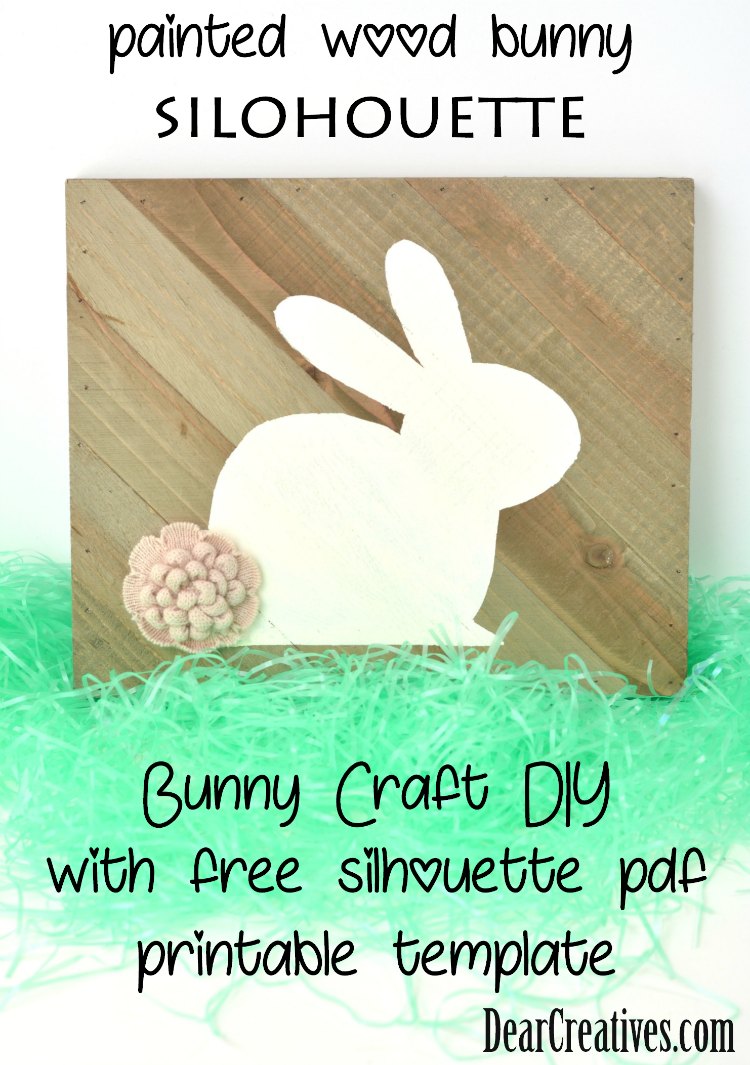
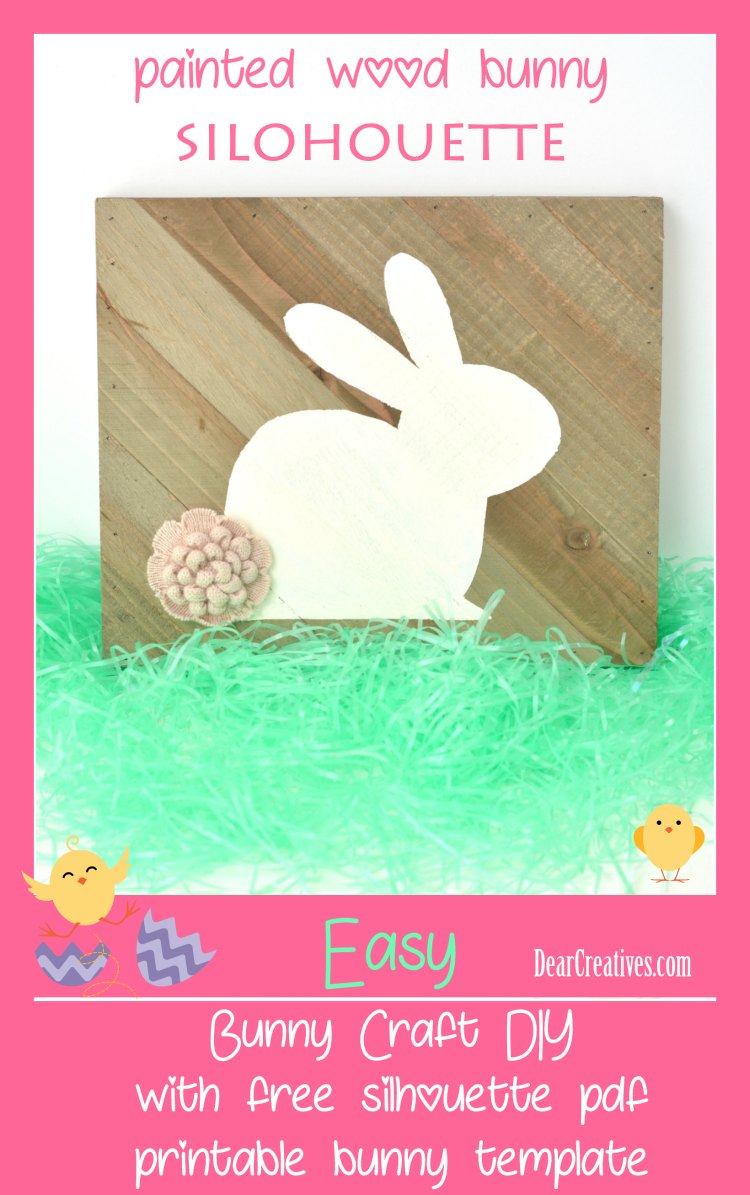
Fun and Easy Painted Bunny Craft with Free Template
Are you ready to get crafting today? We have an easy painted wood bunny craft to share with you. Use this as an Easter craft or just as one of your spring craft ideas. Included in the tutorial is a free PDF template, Bunny Silhouette. You’ll love this bunny craft because it’s fun, and easy!
Bunny Craft
Not making this today? Be sure to pin an image so you can find the free bunny craft template for when you are ready to make your bunny craft projects.
Are you ready to make more bunny crafts and Easter crafts?
Wood Bunny DIY
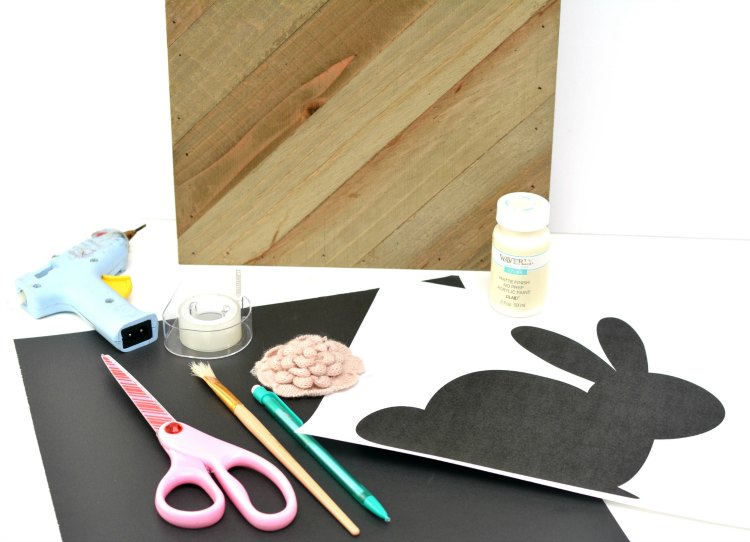
Materials:
- Plain wood sign (Ours was purchased at Walmart but, I have sourced a few to get you started)
- Plain wood sign 9 x 12
- or Rustic Slat Wood Sign
- Bunny silhouette printable template
- Large sheet of cardstock
- Pencil
- Scissors
- Tape
- Ivory craft paint or other color of your choice
- Paintbrush
- Fabric flower craft accent or other accent *see ideas below
How to Paint a Bunny on Wood using a Template
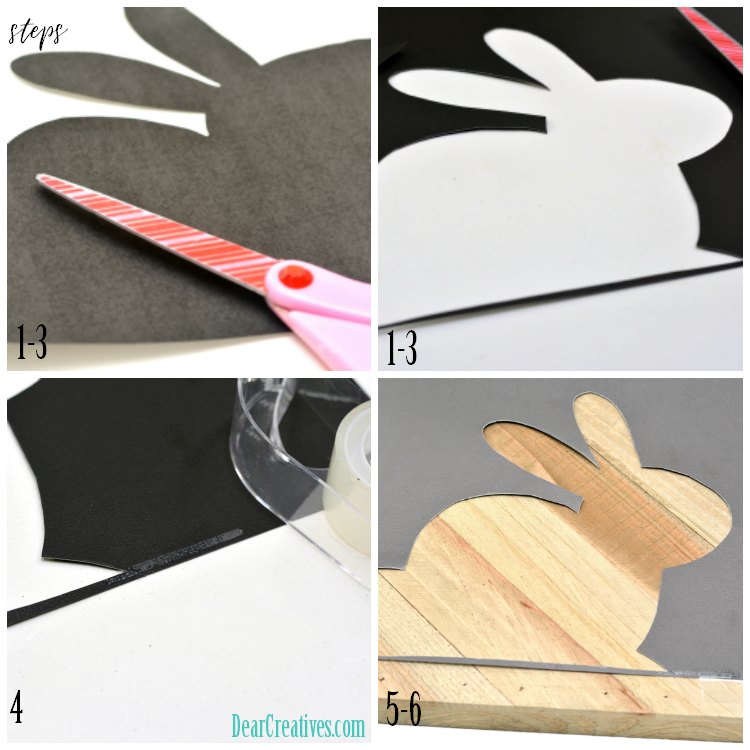
Steps through 6 go with the above images. And Step 7 to complete bunny painting; Using ivory colored craft paint, paint in the stencil on the wood. You can hold down the edges of the stencil with your fingertips as you go along the edges to make sure you get a good clean shape.
Instructions:
- Begin by printing, then cutting out the bunny silhouette from the printable bunny template.
- Trace the bunny shape onto a large piece of cardstock with a pencil. The thicker the cardstock the better for this craft.
- Beginning at the bottom of the bunny shape where the straight line is, cut out the silhouette shape from the cardstock.
- Use tape to close the cut at the bottom of the bunny shape in the cardstock, so that it forms a closed stencil.
- Lay your cardstock stencil on top of your wood sign where you would like your bunny shape to appear.
- Tape down the edges of your cardstock stencil so that it does not slip and slide while you are painting.
- Using ivory colored craft paint, paint in the stencil on the wood. You can hold down the edges of the stencil with your fingertips as you go along the edges to make sure you get a good clean shape.
- Let the stencil stay on your wood sign until the paint has completely dried.
- Once the paint is dry, remove the stencil from your sign and discard.
- Use glue to attach a fabric flower craft accent to the tail area of your bunny silhouette on your wooden sign.
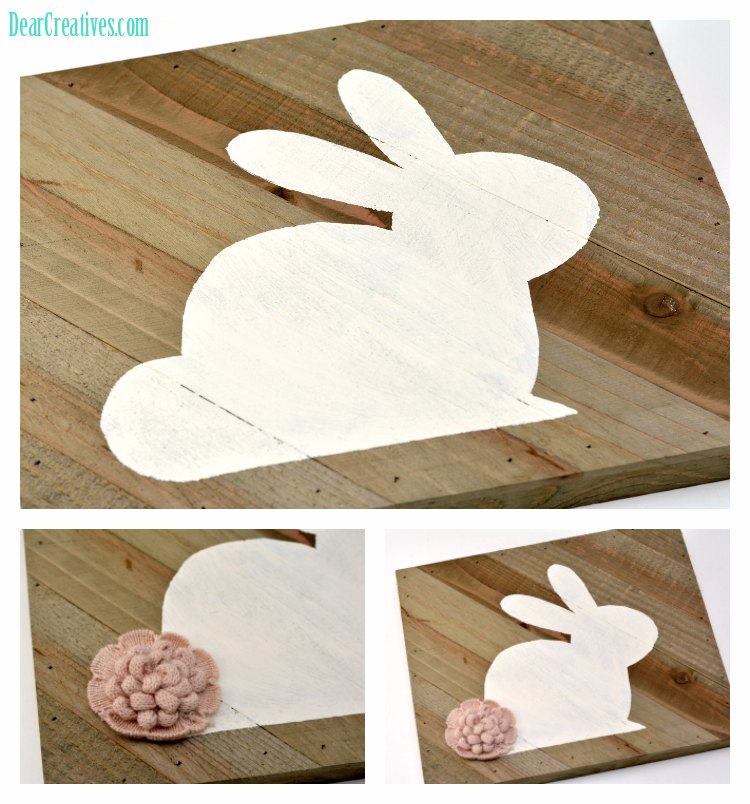
Steps 8 through 10. When you attach a fabric flower craft accent to the tail area of your bunny or you can choose from many options that I have listed below.
Bunny Tail Ideas
- Premade bows
- Cotton Bunny Tail (natural cotton pods)
- Glue on a faux bunny tail
- Faux Rose
- Faux Flowers
- Make a bow with Wired Burlap 1.5 wide
- Use a bow like this spring/Easter hair bow
- Make a poly satin bow
- Don’t forget to subscribe
- Pin it for Later
Looking for more Easter craft or spring craft ideas?
We have a few more bunny craft ideas, and other Easter and spring projects.
- DIY Bunny Banner
- Easter Bunny Bag DIY
- Bunny With Moveable Arms Paper-Craft
- Wooden Decoupage Eggs Centerpiece DIY
- 30 Minute Easter Printables, and Crafts
- Easy 10 Minute Chick Mason Jar Craft
- Easter Treat Box With Template
- Easter Utensil Holder DIY
- Spring Craft Ideas
 Pin it! Happy Crafting!


Cute! This would be fun to make paper bunnies with the gbabies for Easter!