Capri Sun Snack Bag Photo Tutorial & How To
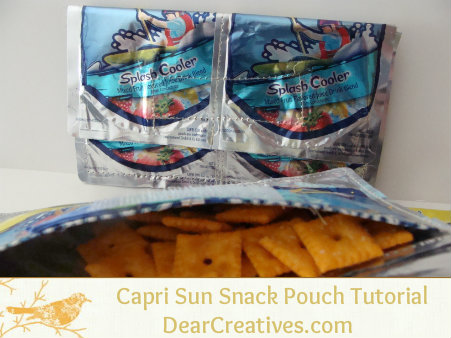
Dear Creatives, I did mention working on a video tutorial for the Capri Sun Snack Bag Pouches. It will be a bit before the video is done due to editing… but, until then I put together a photo tutorial with instructions. I hope it helps you be able to create your own snack bag easily from the Capri Sun Pouches. So here goes, if you have any questions just email me or comment in post & I will reply asap.
Supplies
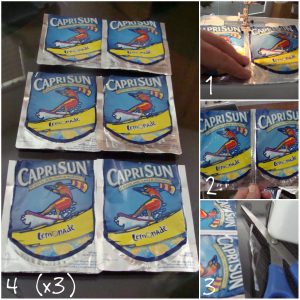
- Make sure to have at least 6 pouches on hand. Have them washed & dried prior to beginning.*Only cut the tops off just below or level to the straw hole. Do not cut them apart.
- Thread
- Velcro iron on or sew on
- scissors
- fabric scraps or felt (if using iron on Velcro)
Click to enlarge any / all photos
1. Overlap silver at sides while matching bottoms of two Capri Sun Bags
2. Sew all the way down center connecting the two pouches together (Sew back stitching at start & end to lock in stitching completely)
3. Trim across tops to even out as needed trying not to get too near stitched center
4. Do this step until you have 3 sets of two
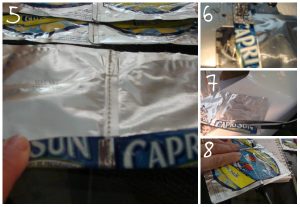
5.Fold over top edge on all three pouches & sew straight across
6. Then cut off uneven edge just above the top if you want even seams ( not cutting under material or through material or too close to stitching )
7. Next you will be sewing top flap to back of snack bag * take sewn pieces & over lap with right sides facing down, overlap & sew seam connecting them
8. Now top flap & back is sewn If you sew a second seam (step 9)
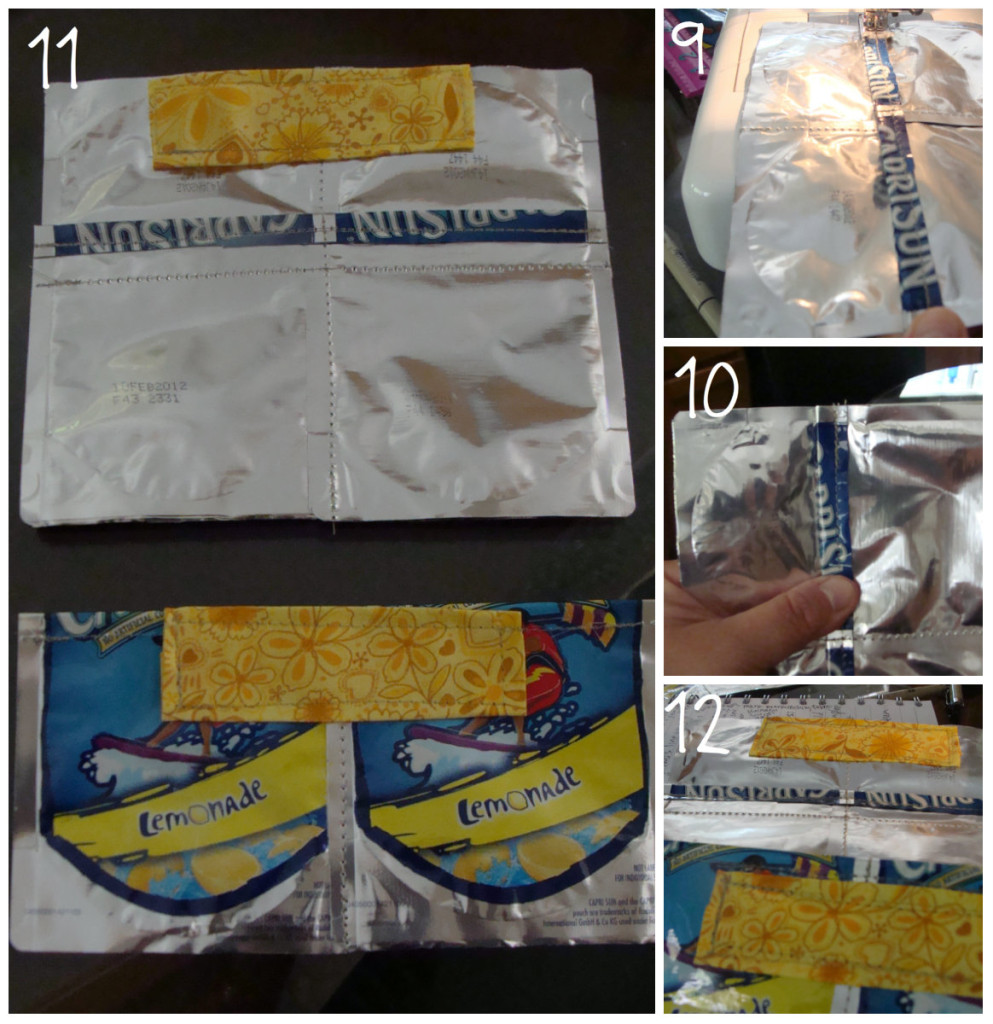
9. Now you flip it over & sew a second seam ( it’s been over a week since I did this & you might not even need a second seam but, I made one so it’s easier to fold over )
10. Just shows you sew straight down next to seem about 1″ out from just sewn seam
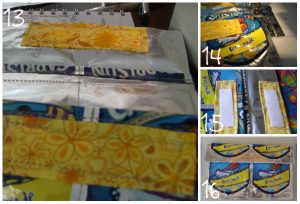
11. There are two options, I was using iron on Velcro so you need fabric or felt under so Capri Sun Pouch doesn’t crinkle from heat. If you use fabric you have to make a rectangle with seams closed. If you use felt which is less time consuming just cut a rectangle! For both you need to sew on prior to sewing pouch completely together!
12. When done it will look like Step 11 Photo, at this point you can iron on Velcro (which is easier than waiting!) * If using sew on Velcro you won’t need fabric underneath.
13. Lay front of snack pouch on top of back side plus flap of pouch (which is already sewn together)
14. Now sew around side, pivot sew across bottom & pivot then sew up to top ( use back stitching at start & finish to lock your stitches) This is like making a U shape leaving the center open for putting your snacks into.
15. You can see I added Velcro after I don’t recommend this ( this was one of the first I made) , Then just fold over top & secure.
16 Your done & it’s ready to use!! Each time you make one they get easier!!
I hope to have a video tutorial soon so you can see how easy this is! I can’t wait to share more. If you share or pin to use later, please link back to me to give credit. Thanks!
& if you missed the first Capri Sun Re-Purpose post you might like it. I shared my snack bags & other Capri Sun Tutorials for back to school items.
What project (s) are you working on?
Linking up with:

All Aboard! Craftsy’s first-ever Quilt Cruise will be leaving the dock on March 23, 2013, for a week-long Caribbean vacation full of your favorite pastime. Join instructors Carol Ann Waugh, Weeks Ringle, Pam Holland, and Sue Bouchard on the high seas to learn new techniques, fun spins on traditional methods, and a variety of projects. Immerse yourself in the Craftsy quilting community as you craft alongside fellow enthusiasts! Hop off board when the ship docks in Jamaica, the Cayman Islands, and Mexico for fun excursions before you reboard for more quilting adventures. Craftsy is even giving away one pair of tickets every month, so you and a guest can get away for an incredible quilting experience and Caribbean vacation!
View the complete itinerary, learn all about ship amenities, and enter now for a chance to win!



I featured you in my round up of Back to School projects this week on A Crafty Soiree. Please come by and check out your feature, it will be up tonight after midnight EST.
Thanks so much Katie! I sure will drop by, I appreciate the feature.
I love finding ways to repurpose anything. What an awesome idea!
Thanks so much for linking up with Amanda and me for Two Girls and a Pin http://britpins.blogspot.com/2012/08/two-girls-and-pin-diy-washer-bracelets.html (back in August). Her and I have both been going through so much and haven’t had time to do much in the blog world. But I wanted to let you know, you’ve won a featured post on my website! My schedule is pretty open, so email me at pinterestaholic (at) gmail (dot) com with html for a post and I’ll get it up ASAP. It can be anything you want (recipe, craft, introduce yourself…anything!) Congrats!!
Oh, Thanks so much Brittany! I will be excited to share some thing with your readers. Be in touch soon! Glad you liked the Capri Sun pouch project.