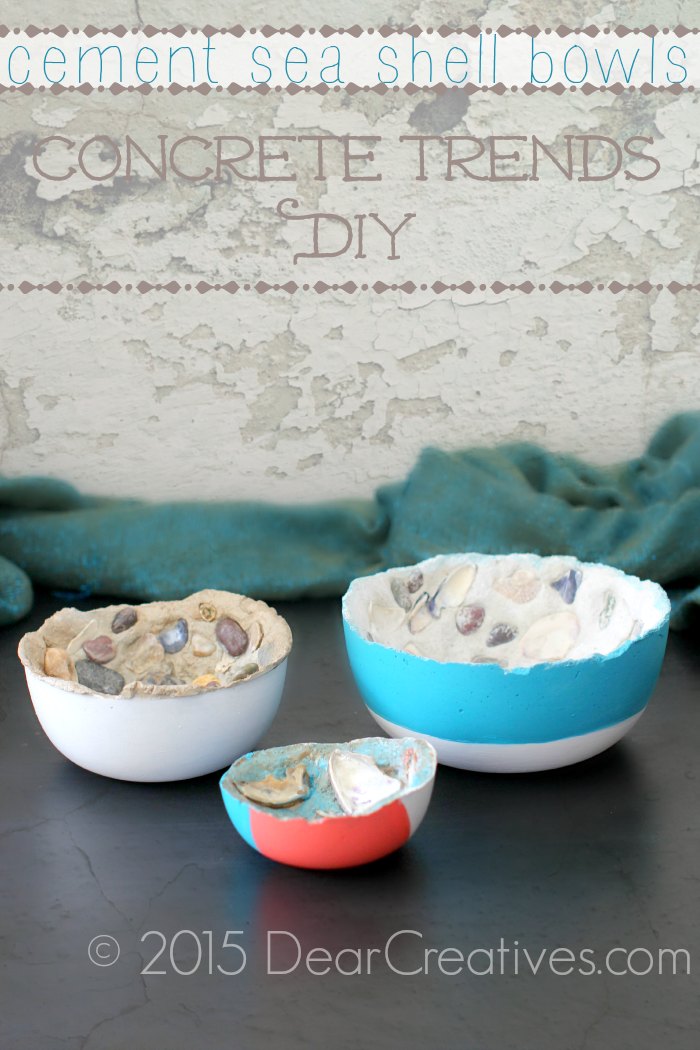
DIY Cement Bowls: How-to Make Concrete Bowls
DIY Cement Bowls: Today we are sharing how to make concrete bowls. I’ve been watching concrete trends for quite a while now and wanted to try something for myself and make cement bowls. You know how much I love the beach. We happened to be cleaning out some old boxes in the garage when I spotted a box called seashells.
Who packs up sea shells when they move? Ahem, yes I did. I guess I couldn’t part with them and knew someday I would make a home decor project with them. I am sharing how to make concrete bowls. Want to see different ideas to make for your decor? See all our projects for DIY Home Decor
Don’t worry if you don’t have sea shells and beach rocks. You could just leave that step out or even replace it with river rocks, pebbles, or… It’s totally up to you. This is a project that is pretty quick to put together but, adds to the dry time and painting it will be a project where you want to set aside at least a few hours to complete it. The best part is when you are done painting the cement bowls you will have elegant home decor pieces for yourself or to gift someone.
Concrete Trends
Cement Concrete trends are always popping up. And if you love collecting sea shells but don’t know what to do with them all this is a project perfect for you!
Some of the supplies you may have on hand. I suggest you go buy cheap plastic bowls you can reuse for this type of project. But, never use them for food after! I found mine in a set for $5.00. I’ll just make a full supply list so you can have it if you’d like to try your own easy elegant home decor diy.
How to make Concrete Bowls
Supply List:
- Rapid Set Concrete
- Latex Gloves
- A bucket or 5-gallon pail (for cement mixing)
- A bucket or pail (for water)
- rag
- Plastic Bowls Set Any sizes you want. You will NOT be able to use them for food ever after this project!!
- Paint Brushes Inexpensive set or I used my versatile Paint Brush Set if you want to invest in a good quality set
- Patio Paints by DecoArt ( Easy soap and water cleanup!)
- A scraper tool, such as a paint or grout scraper
- Mixing Tools such as a Drill with a Mud Mixer attachment (or) Use a sturdy paint stick might work for small batches
- Sea Shells (or) Rocks *or omit from the project
- Measuring Cup (old plastic drink cup that you will not reuse again!)
- Spray Bottle for water
DIY Concrete Bowls
Can you pour concrete into plastic?
YES! Follow these instructions
The ratio of concrete to water for making a cement bowl is 4 parts concrete to 1 part water.
Instructions
Step by step how to make cement bowls
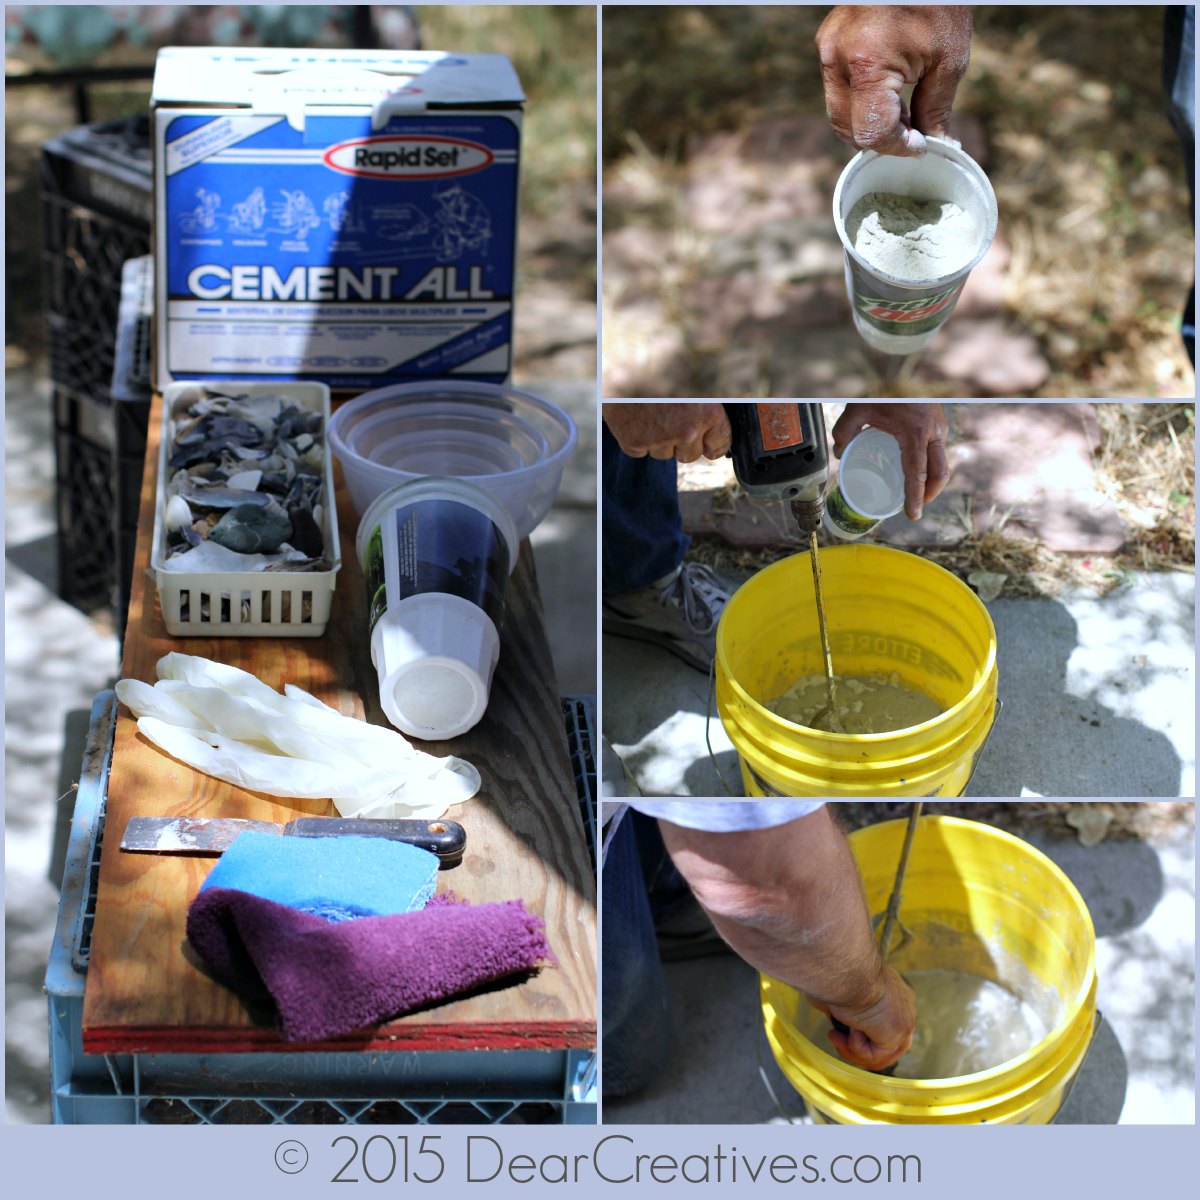
- Gather all your supplies in one spot outdoors.
- Mix the concrete according to the directions (4 parts concrete-1 water). We like using Rapid Set Concrete. We used an old plastic cup to measure.
Tip: It’s best to work in small batches! - Watch for it to start to set up, you do not want to wait until it’s fully set as you need time to form it in the bowl and add seashells
Steps for making cement bowls
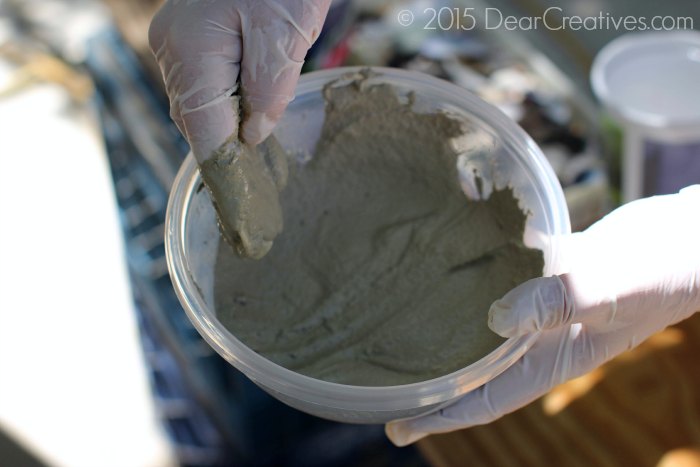
- Pour it or scoop cement into your bowls. I work on mine one at a time. If the concrete slides down give it a minute, then try to build up around to the top of your bowl.
- Make sure to give it some thickness, too thin and you can crack it when you are pulling it out when it’s dry. I wasn’t worried about making perfect edges. I love the organic nature of this project but, you can work on the edges more if you like. I did for one bowl.
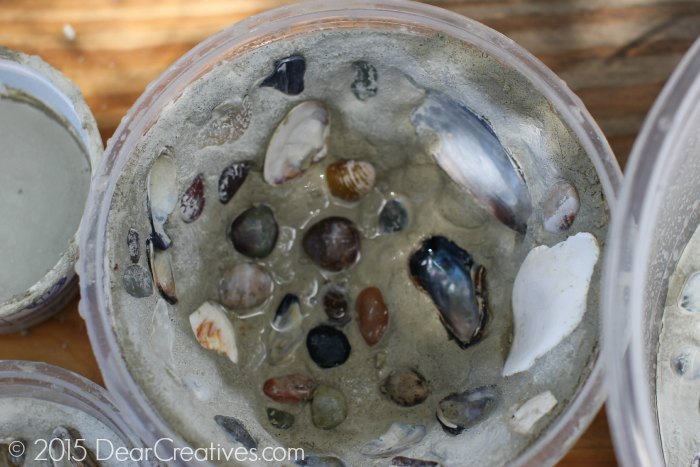
Adding The Sea Shells and Rocks To The Cement
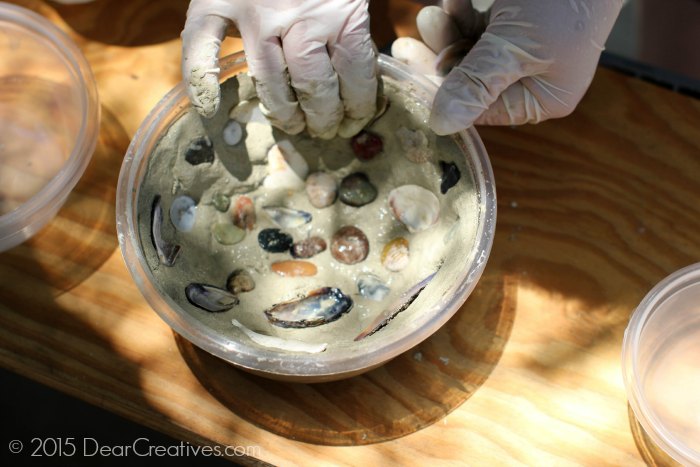
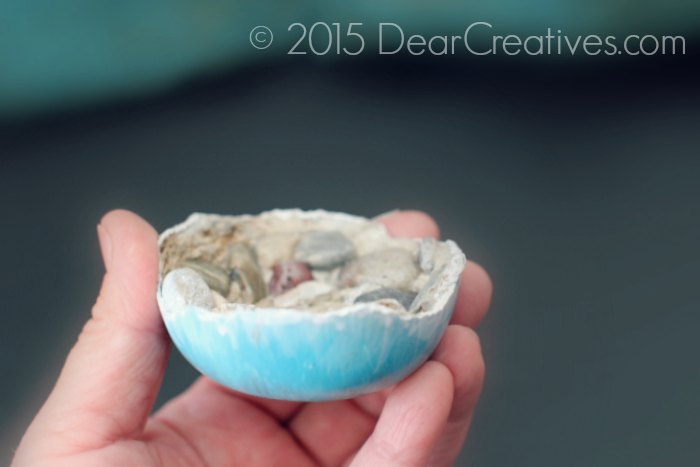
- Next, begin to place your seashells into the bowl in a random pattern, until you like how it looks. You can see how I kept the bowl a little lower than the bowl’s lipline.
- You have to work pretty quickly especially if it’s hot outdoors.
Spray the inserted Sea Shells and Rocks With Water Then Wipe Them Clean
Now, spray water onto your seashells and gently wipe with your rag to get any excess cement off of them. You will also spray the concrete while drying every so often to reduce any chances of cracking!
When The Cement Bowls Are Dry and Cured
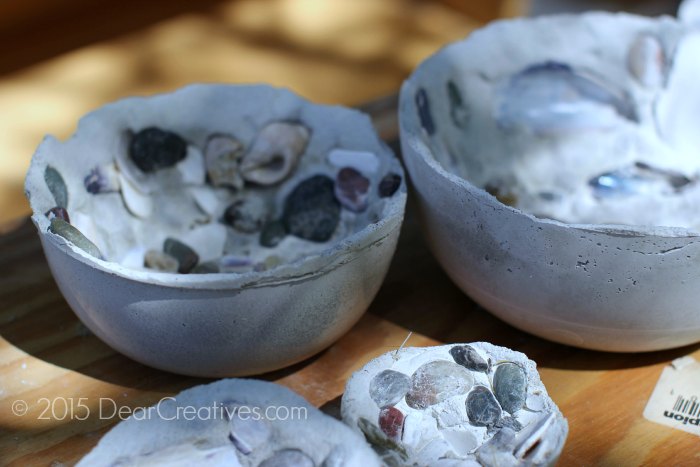
- When your concrete bowls are dry and cured you can pop them out.
- You may have to slide the edge of the scraper tool under the lip of the cement and bowl and go around the edges gently.
- Next, flip the bowl over holding your hand under it completely, and pat it a few times to pop it out. Jiggling the plastic will help.
I only struggled with one bowl. Worse case you can always cut off the plastic bowl but, I didn’t have any problems!
How do you paint concrete?
Paint Cement Bowls With Patio Paints
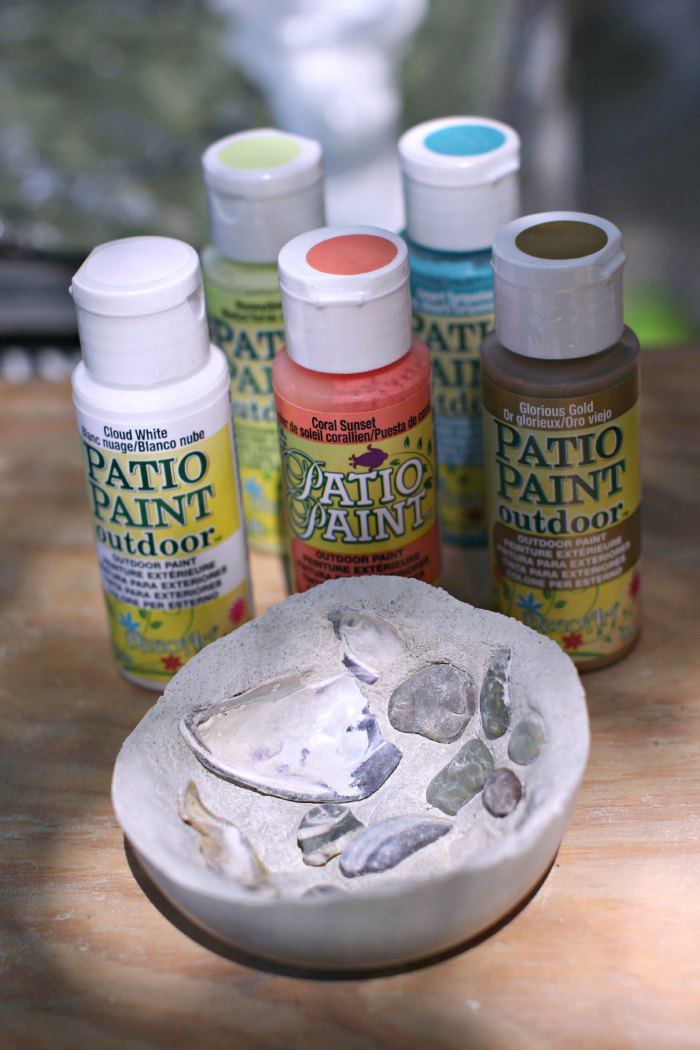
Next, grab your Patio Paints and a couple of paintbrushes. I decided to pick five of my favorite colors: Glorious Gold, Cloud White, Honeydew, Coral Sunset, and Desert Turquoise.
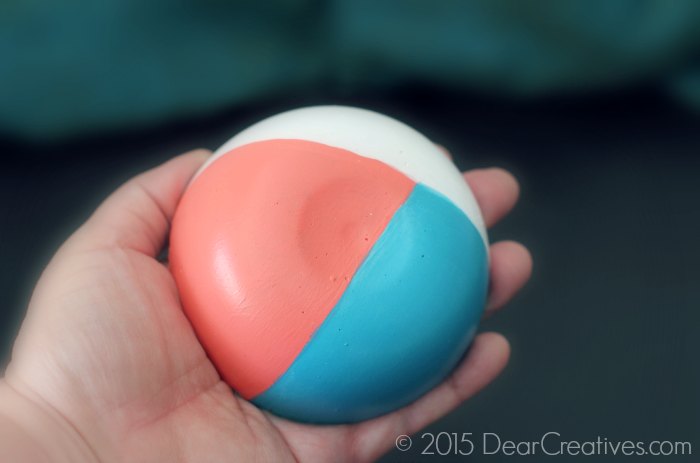
Decide how you’d like to paint your bowls and have fun creating designs to suit your elegant home decor! I made a geometric design, a two-tone color block design, one all-white and one with several of the colors.
You can get away with two coats of paint. Yet, some of mine were coated more to entirely make them opaque.
The Patio Paint is easy to use, soap and water clean, and dries quickly! I love it. I know I’ll be making more designs, creating more #decoartprojects, and using the Patio Paints by Deco Art again soon!
The Patio Paint is versatile.
You can thin it down by adding water to your brush. I
- First painted the bowl blue then painted the top edge of the bowl white.
- Next, I dampened my brush and pulled out a little water from the brush, reloaded the white, and used a pull-down stroke to soften the turquoise.
- I also painted the insides of each of the bowls with the Patio Paints around the shells with either gold, white, or turquoise.
I could have left it plain but, it added a nice contrast to paint them. With the gold, I even painted over the shells and rocks to help them glisten as if they were still wet. By contrast, I painted the bowl below with white and just let the shells stay the natural colors.
You Can Make Your Bowls Bigger!
If you want to use your cement bowls for concrete planters use a bigger plastic container or plastic garden pot for your mold. You can even add stones to the mix to make a stone planter.
How To Add a Hole To The Bowl/Planter
Need to add a hole in your planter? See this helpful post.
Make a Bowl With Cement and Sea Shells!

Don’t forget to Pin it for Later!
- New here? Be sure to Subscribe.
- Pin it for Later
- Follow us on Pinterest
- Shop our favorites on Amazon
Project Tip Angle Brushes are Helpful!
- The Patio Paints can be easily painted on to get a sharp edge or line use one that has been dipped in water and, pull excess water out with your fingers.
- Hold your brush steady while pulling using a finger to balance your hand on the bowl.
- Stop in sections lifting up the brush as needed when rotating the bowl. Practice makes perfect.
- You can go over any mistakes by waiting for the paint to dry and adding a layer to cover the mistake.
- Buy an angle brush


Have you ever wanted to make cement pots at home?
Ways you can use Cement Bowls in your home decor
- Holding sponges in the kitchen
- Adding a candle to
- Holding air plants
- Use as a planter for succulents
- Make a mini-scene
- Holding jewelry such as rings
- A key catcher by the door
- Use for backyard decor with a citronella candle
Do you have questions?
Feel free to ask any questions about the techniques used in the DIY concrete trends or the Patio Paint Project in the comments, on Facebook or Twitter and I will answer them for you.
- Today’s post paint was supplied by DecoArt
- The project, images, tutorial, and 100% honest opinions are my own. I hope this inspires you to start your own concrete trends Patio Paint Project, pick up a paintbrush and get painting!
What would you make your cement bowls for?
Related DIY home decor
- Coffee / Tea Cabinet DIY DecoArt Projects
- Indoor Planters Styling Tips and Indoor Plant Guide
- Nautical Decoupage Steel Box DIY
- Vanity to Coffee Cart DIY
- Dresser to Kitchen Island DIY
- How to build a small storage cabinet
- DIY Home Decor


I love this! My daughter is always bringing home shells, this would be a fun way to save them.
Hey Kristi, Thanks for stopping by. Yes, you should do it then if you have shells. Love to see what you make it you try it.
These are lovely! They’d look great on a shelf or in a nautical bathroom!
Hi Donella, Thanks for dropping by and your lovely comment. Yes, great idea. We happen to be remodeling our master bathroom. Maybe a few for holding makeup too!
YES!!! another creative way to utilize the seashells my children bring home from the beach!
Thanks Sara for dropping by. Hope you get a chance to try the DIY.
Wonderful idea Theresa! I love how you created the bowls and the colors are awesome!
Hi Malia, Thanks for dropping by. Thanks for the compliments. I’m glad you enjoyed the diy project & post.