Cricut Jar Ideas + How To Add Vinyl To Jars
I’m sharing two DIY craft projects. Cricut Jar Ideas – All you need for this craft is glass jars (or mason jars with a smooth side), vinyl, rubbing alcohol, cotton balls, SVG files, and any Cricut machine, plus your weeding tools. I love using my digital cutting machine to make Cricut jar designs and crafts. Do you?
Are you looking for something else to make with the Cricut? See all our Cricut Crafts.
DIY Cricut Jar Craft
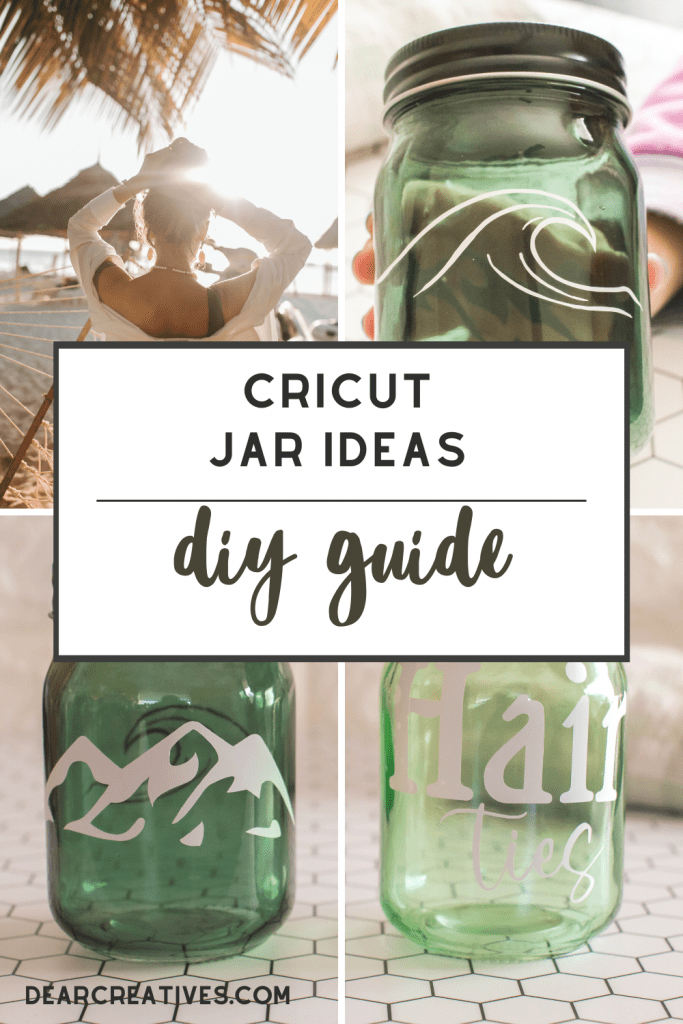
This craft project is easy enough for a beginning Cricut user to make. This is also a great project to make ideas for Cricut gifts. I made these and gifted them to my teenage granddaughter. Once you know the basics of how to add vinyl to jars you will be able to make all those Cricut ideas for mason jars.
When you are done with this post find even more ideas for things to make with our Mason Jar Crafts.
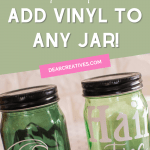
I purchased a set of two colored jars. They were so pretty, in slightly different hues of green, and, came with lids. Let’s make this Cricut craft!
Cricut Jar Ideas
Beach Wave or Mountains
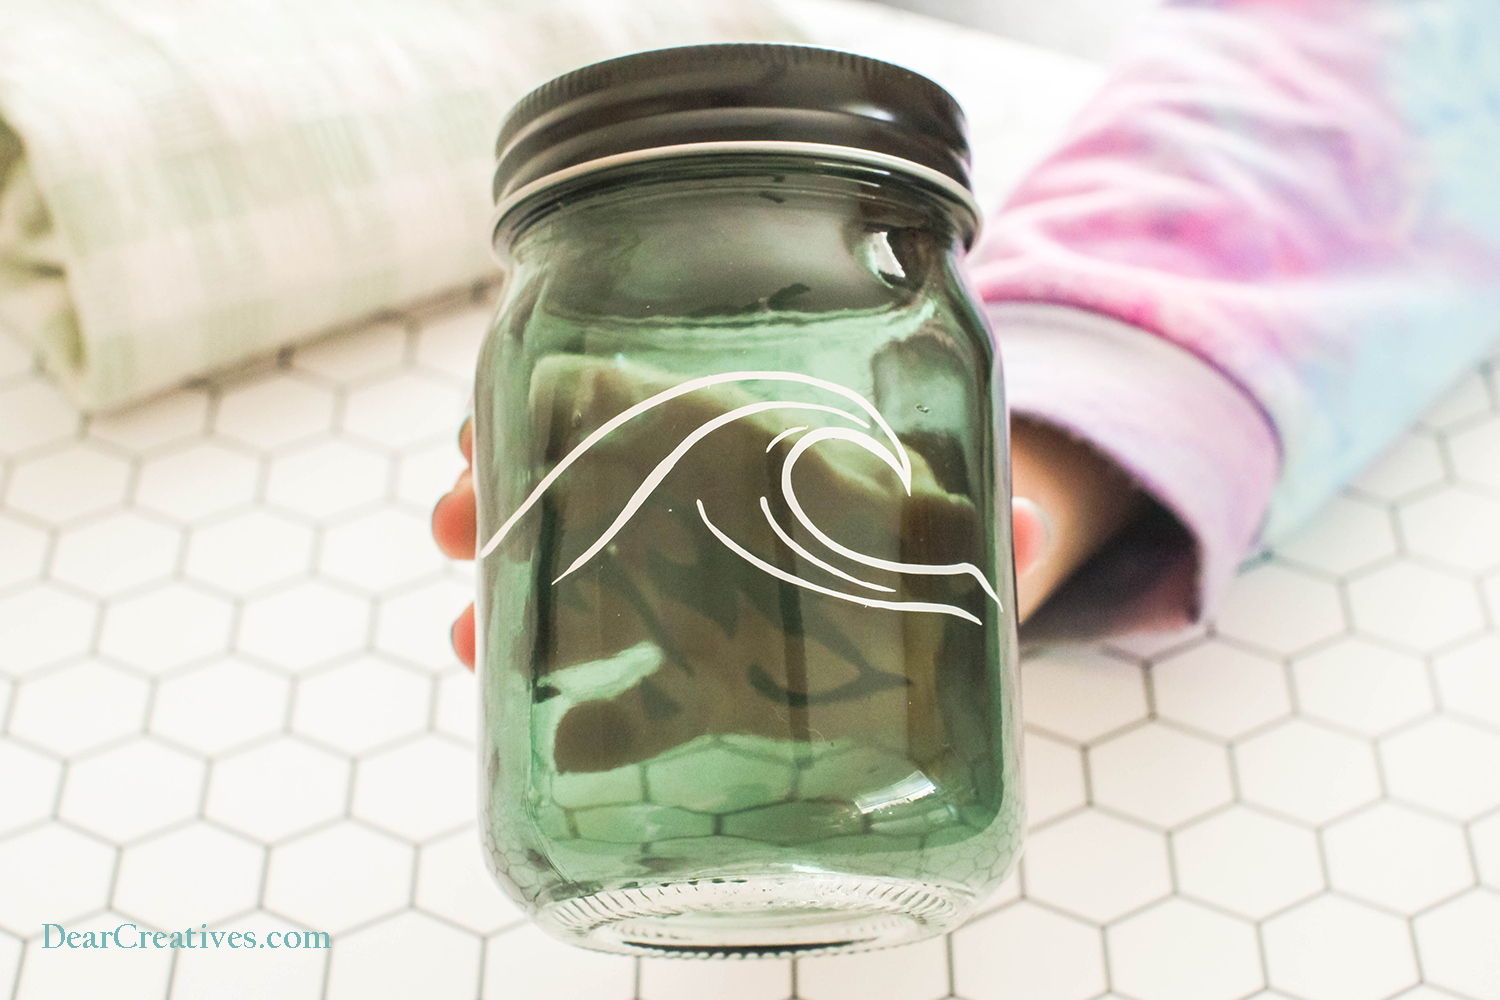
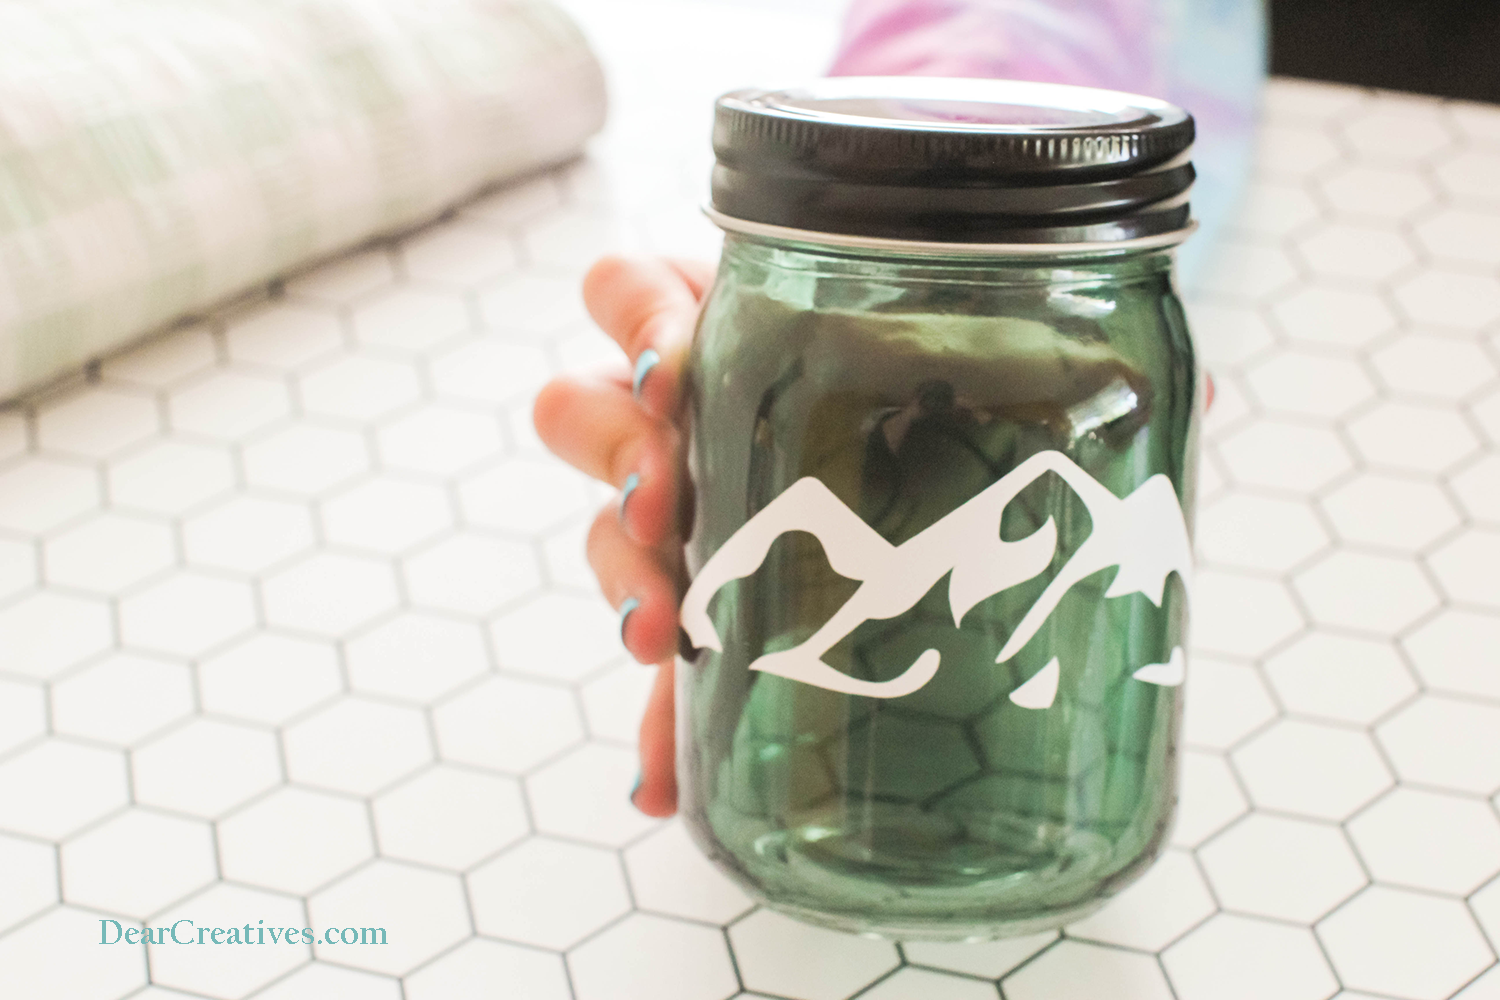
Do you like the beach or the mountains better? She couldn’t decide so on each side of the jar we added a different vinyl design made with the Cricut. A beach wave in vinyl on one side of the jar. And a mountain design on the other side.
Supplies
- Glass jars (with lids) or a jar like this. Or a Stackable Hair Accessory Holder (plastic)
- Cricut vinyl (I used white)- Shop the sale here and save 30% on vinyl
- shop for these Cricut materials and supplies – Transfer Tape, Weeding basic toolset, Scraper Tool (I might have called it a spatula)
- Cricut machine
- Rubbing alcohol and cotton balls (To ensure the glass is clean)
- SVG files – (Wave Design file) (Mountain Design file) (Hair Ties Design files)
- Measuring tape (for sewing/crafts)
I purchased my jars at Target. If you are making these for younger kids I recommend jars like this Stackable Hair Accessory Holder or these Apothecary Jars with Bamboo Lids. Or this bathroom container set. All with high-quality, durable plastic.

This can be made with any Cricut machine. Get the designs to use in Cricut Design Space (It is free to use with a free sign-up!), shop, and use SVG files or make your own designs.
You can use design files and adjust them to the measurements you need for adding them to any size of jar.
You will need Access to the design files I put together for this project. See the levels for getting Access here! Head over to find out more.
Or go to Design Space to upload the designs you made or purchased. Or select from the free designs in Design Space.
Don’t have a Cricut yet? Compare and shop for Cricut Machines
Apply Vinyl To Any Jar
Tip! I think that using a smooth surfaced jar (of glass or plastic) makes the process of applying vinyl easy to do! Which makes this perfect for all levels of Cricut crafters.
If you aren’t making the craft project now – Pin it for later.
Let’s decorate jars with vinyl!
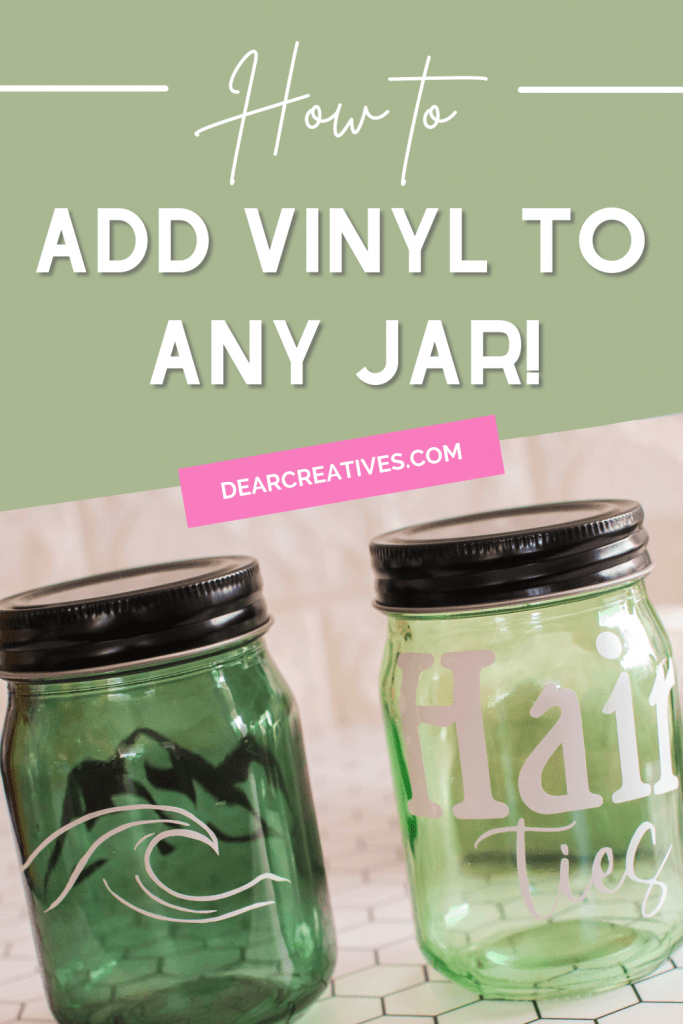
How To Add Vinyl To Jars
Directions
- First measure the jar’s surface space. Write down the space you have to place the jar (height and width). When designing or adjusting the size; Remember you need ample space for placement.
- Design the files or purchase an SVG file, and adjust the files to fit the size of the jar.
- Clean the jar’s glass surface with a cotton ball dabbed with a small amount of rubbing alcohol. Let the jar dry before placing vinyl on the jar’s surface.
- Preview your design!
- Cut the design.
- Weed the design.
- Place the transfer tape over the weeded design.
- Use the spatula/scraper tool to make sure the weeded design adheres to the transfer tape.
Do this going back and forth in different directions over the tape. - Carefully, peel the transfer tape with the design on it, pulling up. Away from weeded sheet.
- Place the design with the transfer tape onto the jar.
- Use the spatula/scraper tool to swipe over the design to make it adhere to the jar’s surface.
Do this going back and forth in different directions over the tape. - Carefully, pull off the transfer tape leaving the design on the jar.
- Repeat the process for any other design you are adding to the jar. Or any words that were not connected in the design.
- You can use the same directions for the next project you do too!
Tada! You did it. What craft ideas using jars will you make next??
Video Tutorial for how to apply the vinyl and showing the Cricut Jar Ideas.
Watch the whole video for the how-to process. Be sure to subscribe to our new channel! Happy crafting!
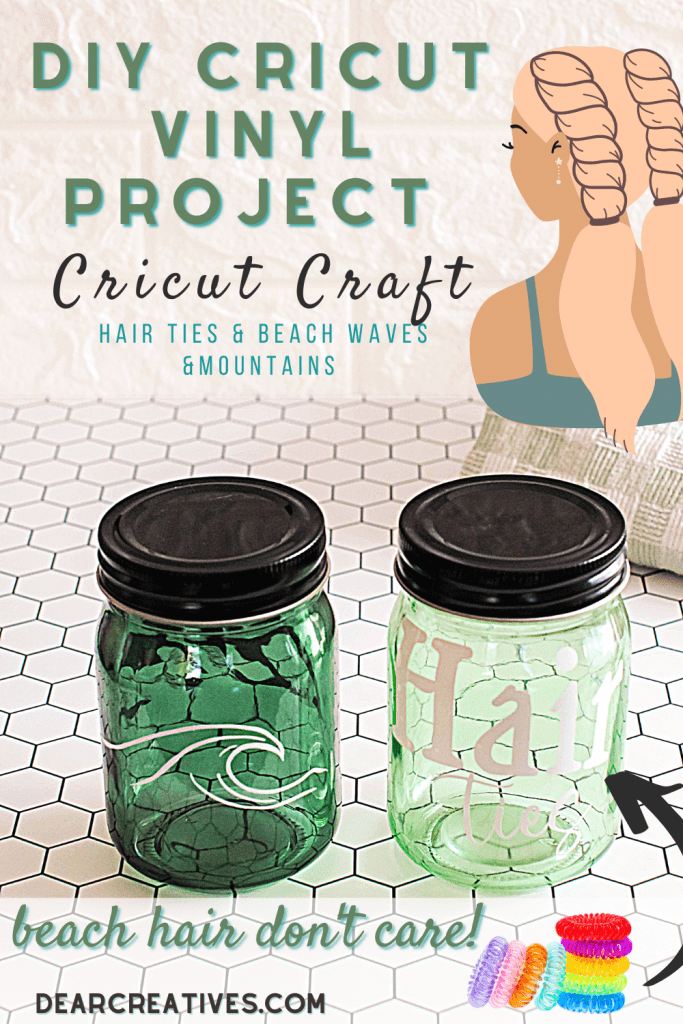
Jar With Words “Hair Ties” in Vinyl
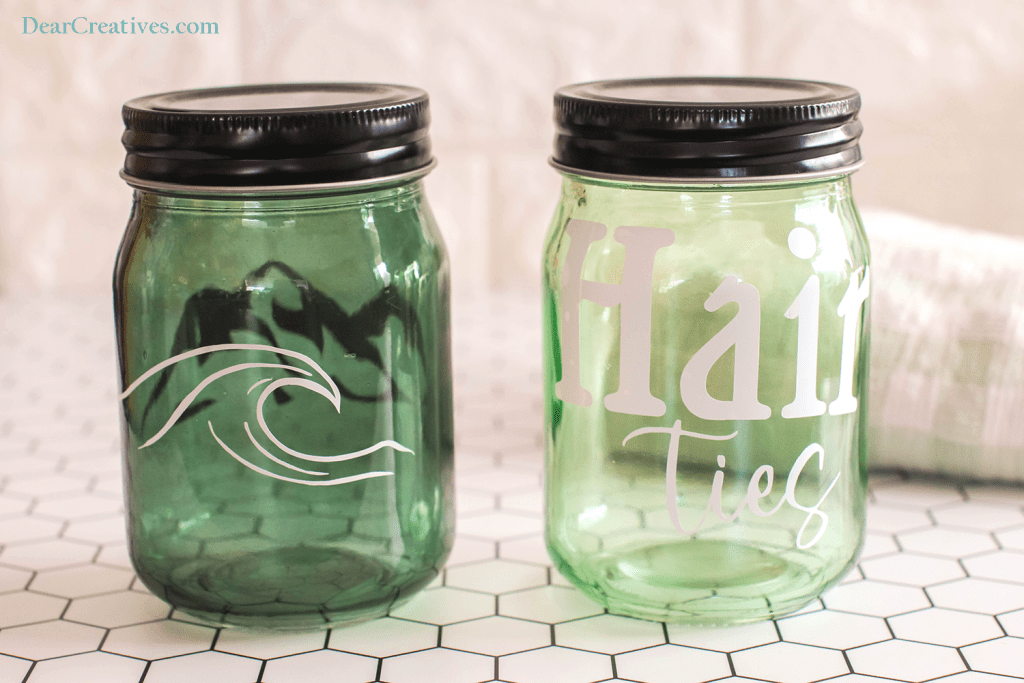
Beach hair don’t care! Now, she has this jar to add her hair ties into! She can easily find them anytime they are headed to the beach. Or to tie her hair up into a ponytail or braid.
What designs would you cut with vinyl and add to jars? Make something from our tutorials? Be sure to tag us on social media with your Cricut jar ideas and crafts! @DearCreatives on Instagram and Twitter
I know I’ll be making more designs! For my granddaughters who take dance, ballet, and play softball. Don’t forget to subscribe below.
Happy Cricut Crafting!
- New here? Be sure to Subscribe.
- Pin it for Later
- Follow us on Pinterest
- Shop our favorites on Amazon
Cricut Crafts To Make
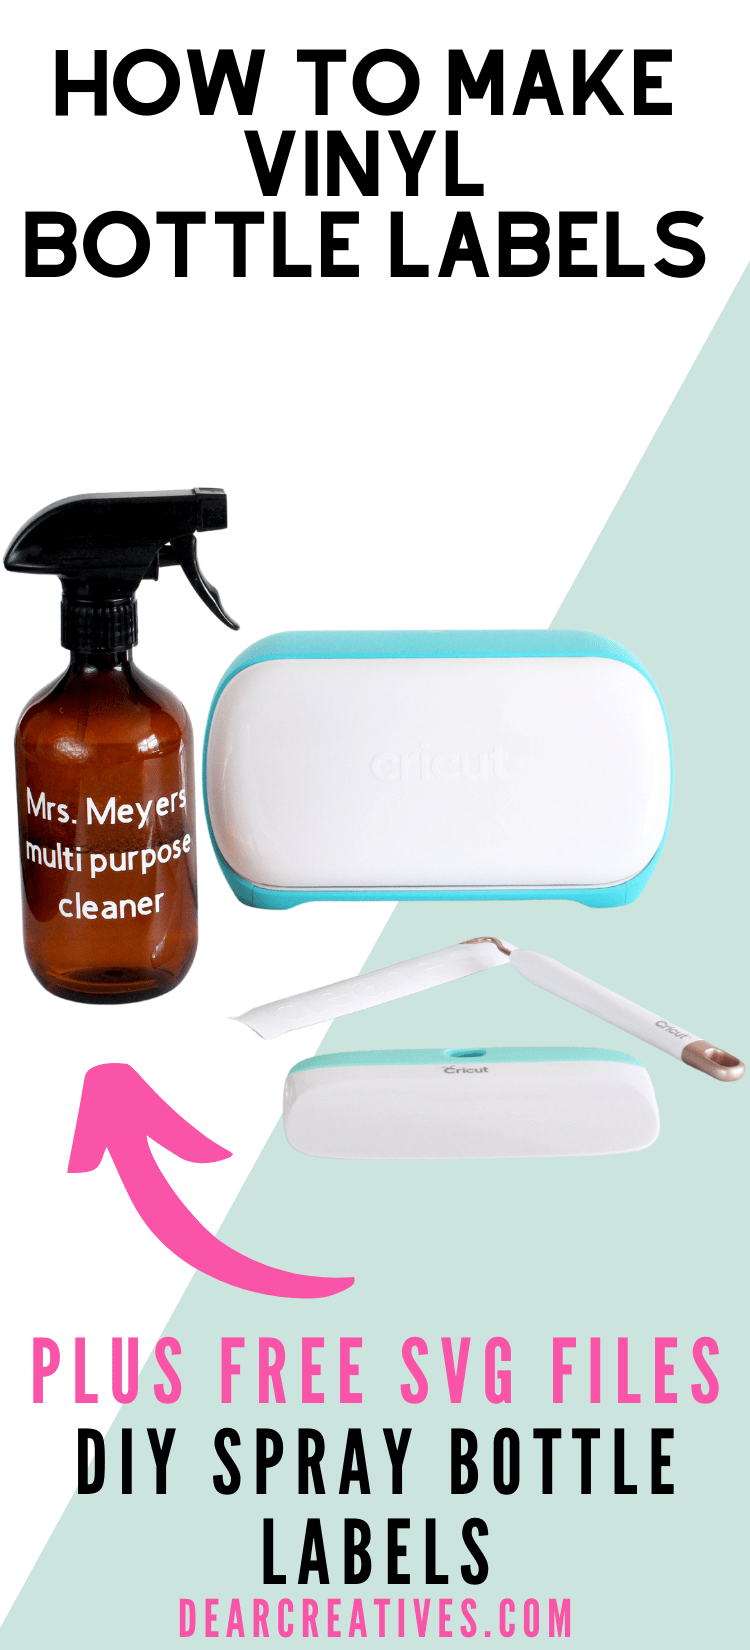
- DIY Spray Bottle Labels
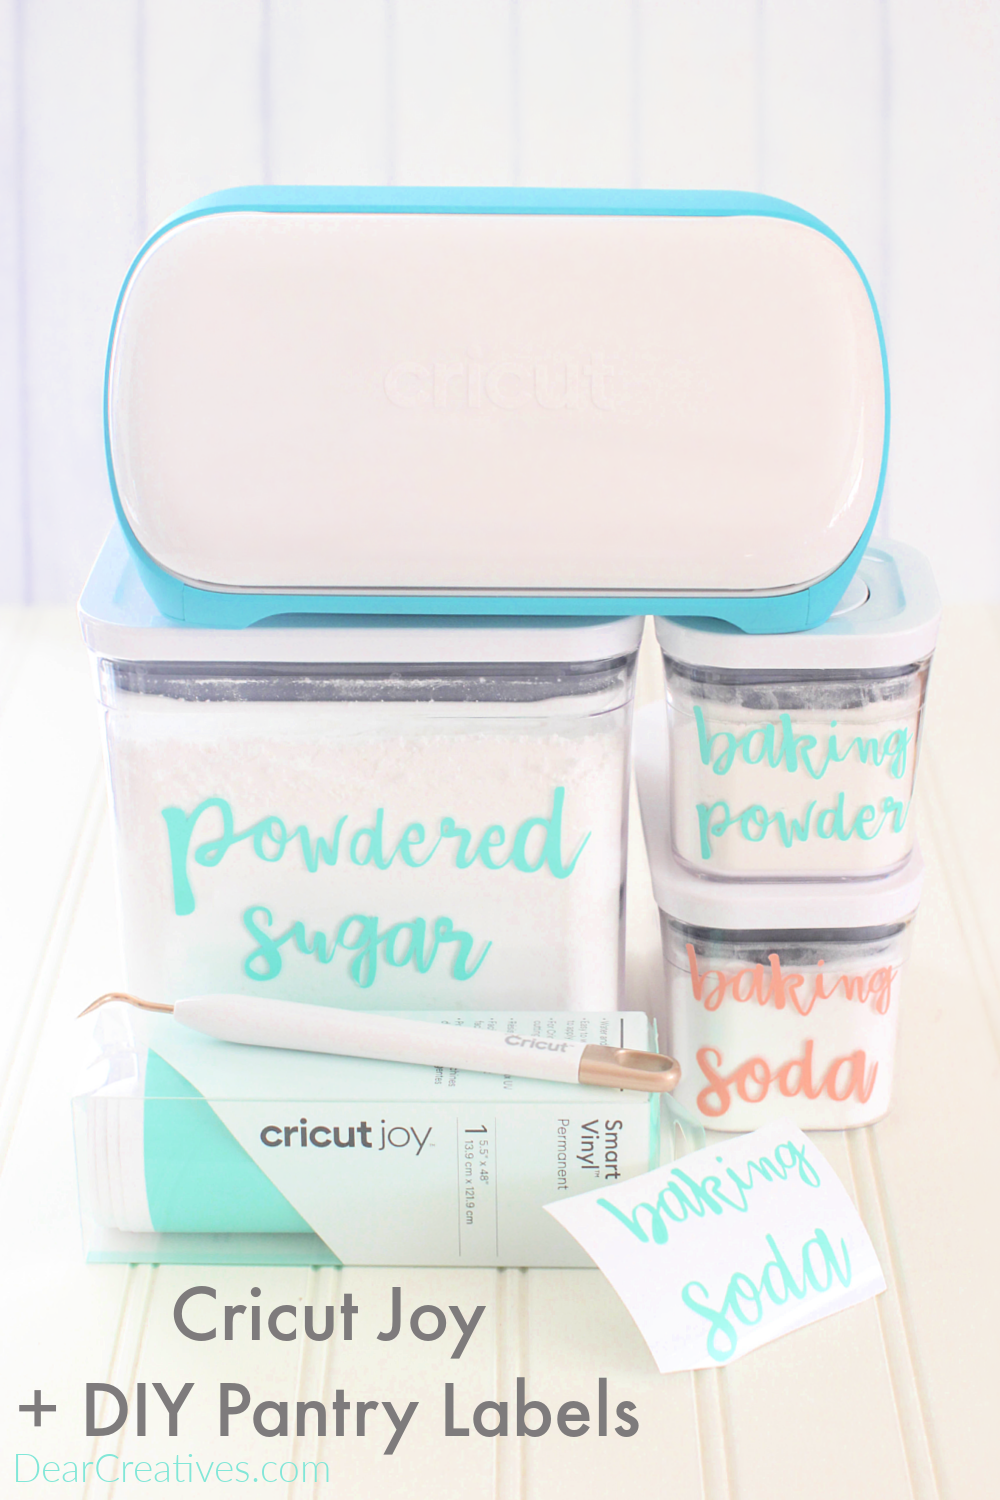
- DIY Pantry Labels
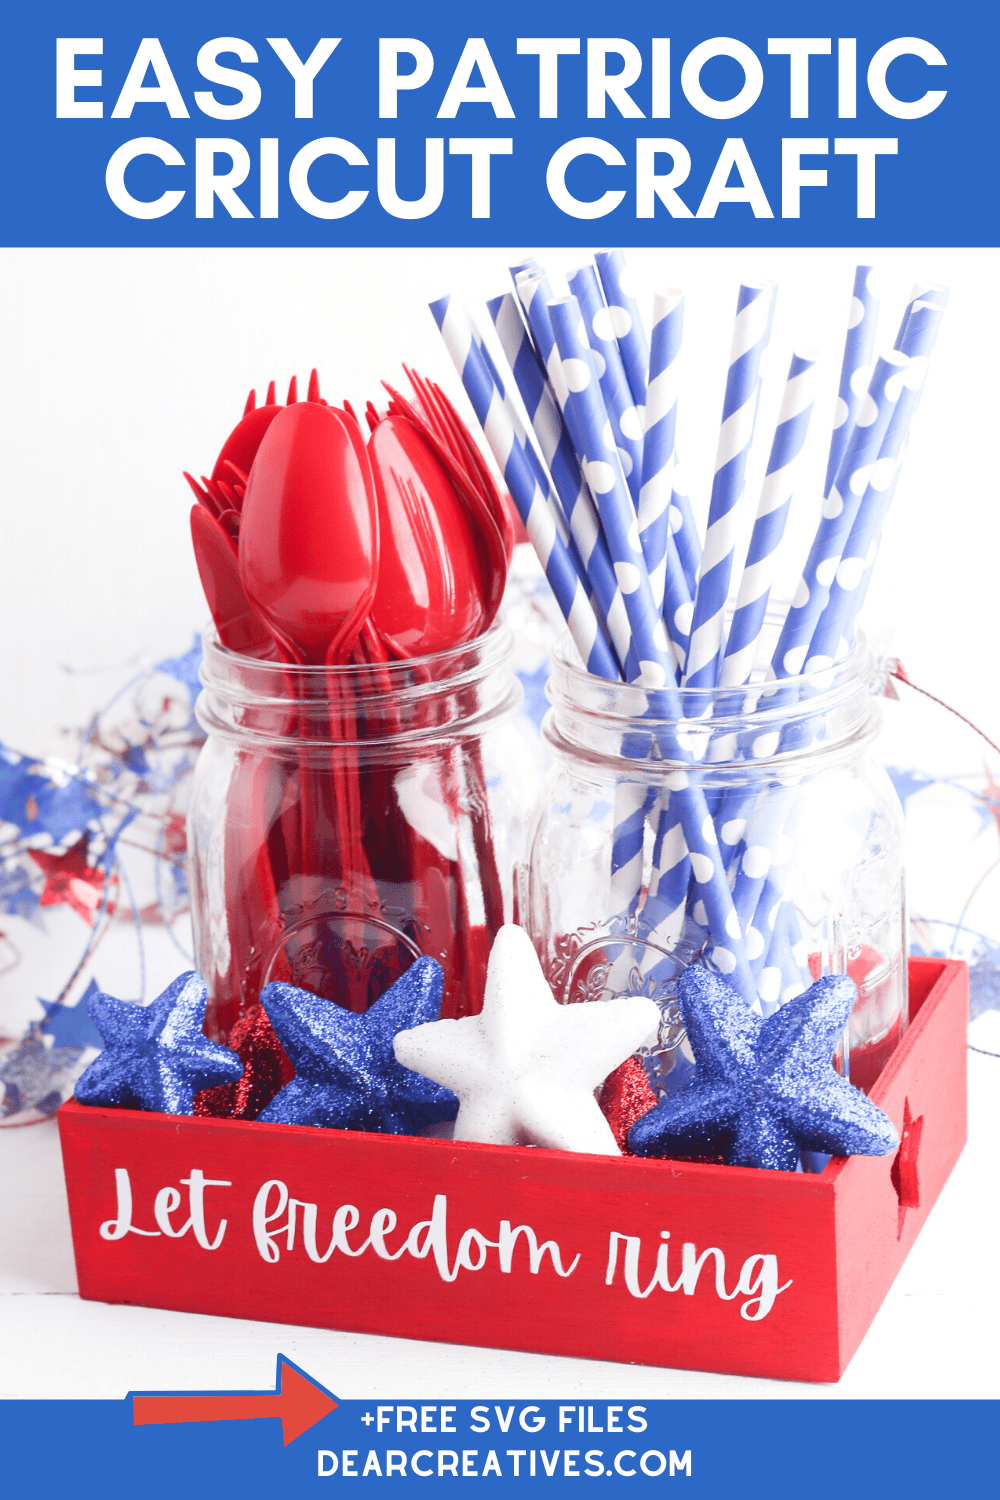
- Let Freedom Ring – 4th of July Cricut Craft with free SVG files
- Crafting With Digital Cutting Machines (craft book review)
- Cricut Crafts!
