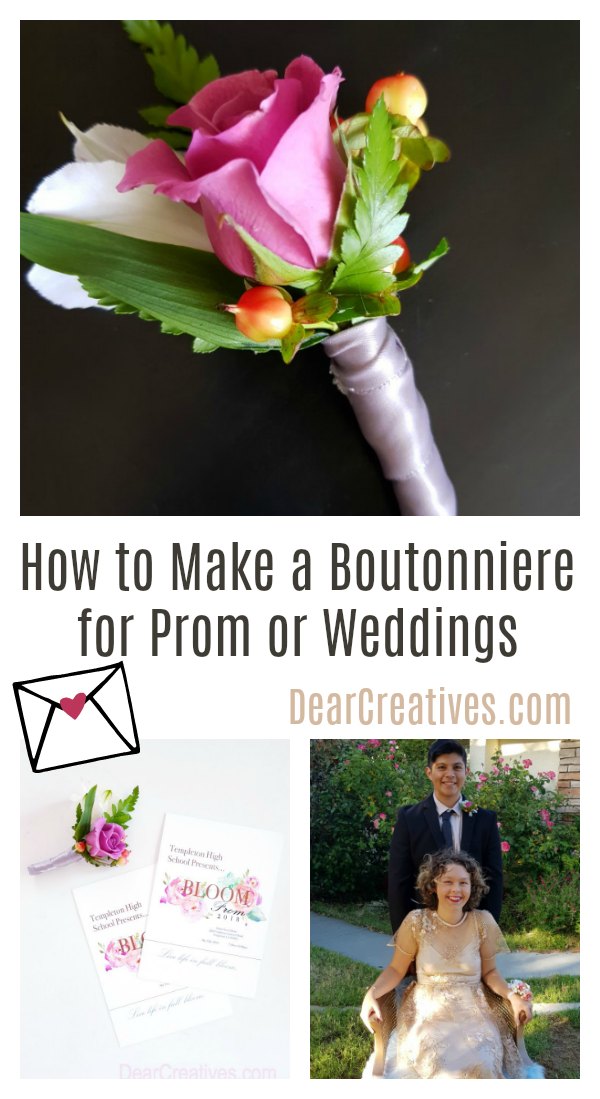
DIY Boutonniere – How to Make a Boutonniere for a Prom or Wedding
Today I'll share a few photos of the DIY boutonniere I made. The tools, and tips for how to make a boutonniere. I'll walk you through how to make your own, and give you tips based on what I learned from making the boutonniere. Plus, I have added additional resources and a video of ideas to help you. These are helpful tips and ideas for making your own boutonnieres for proms or weddings.
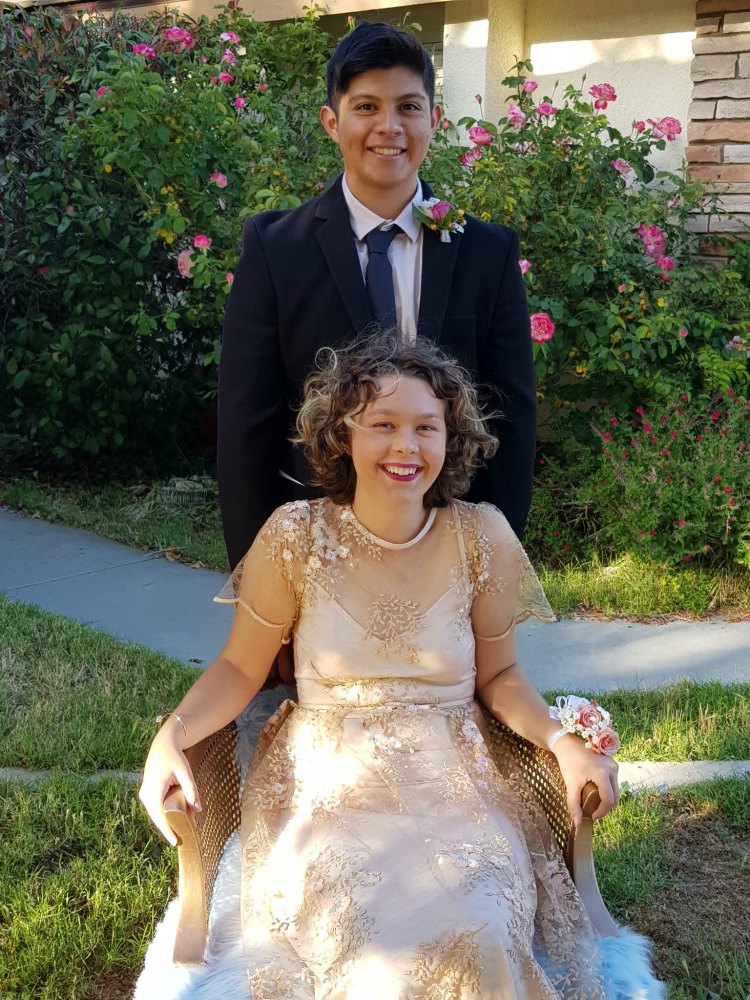
I challenged myself to make a boutonniere for my daughter's prom date, and am glad I did. Have you ever tried making a boutonniere for a prom or wedding?
DIY Boutonniere
Although this one was for Sammie's prom date you can make them for your DIY weddings using the same instructions, tips, and resources we have listed in today's post. You can also find more ideas and inspiration for things to make right here: Wedding Ideas.
How to Make a Boutonniere
The first thing I found out after the fact to consider is where will the boutonniere go. On the outside of the jacket just pinned. Or in a slot on the jacket? In our case, we didn't realize the jacket had a slot. Which is handy, and makes it easier to keep them stable. But, if the jackets you are making them for have a slot be sure to make them a bit skinnier, allowing the boutonniere to slide into the hole the entire way. You will still need to pin 
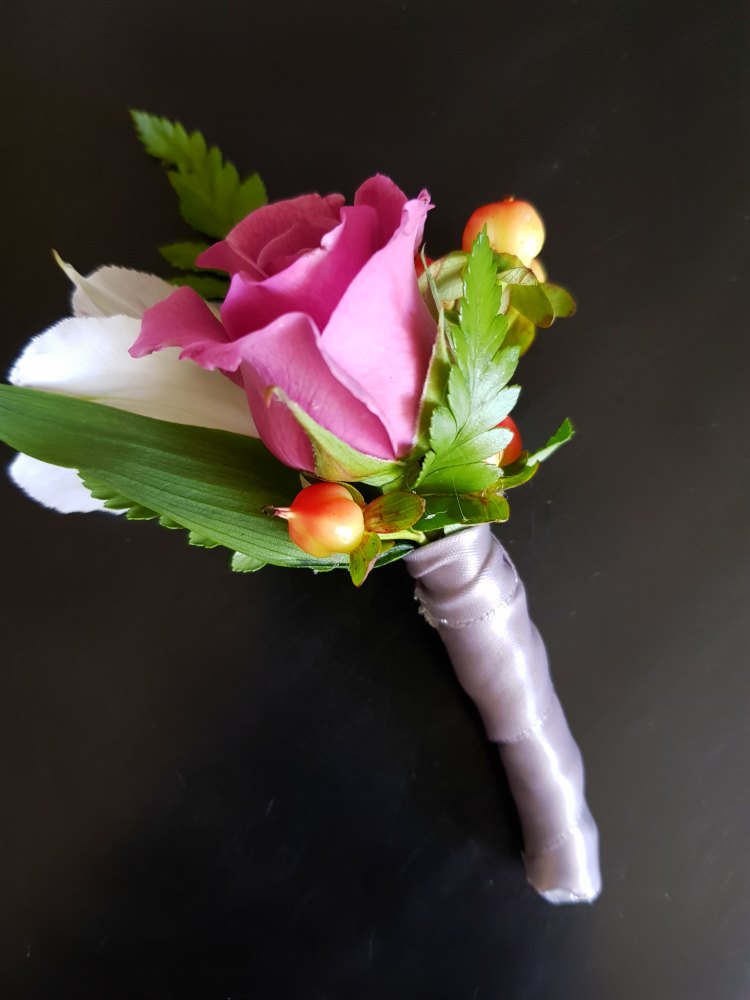
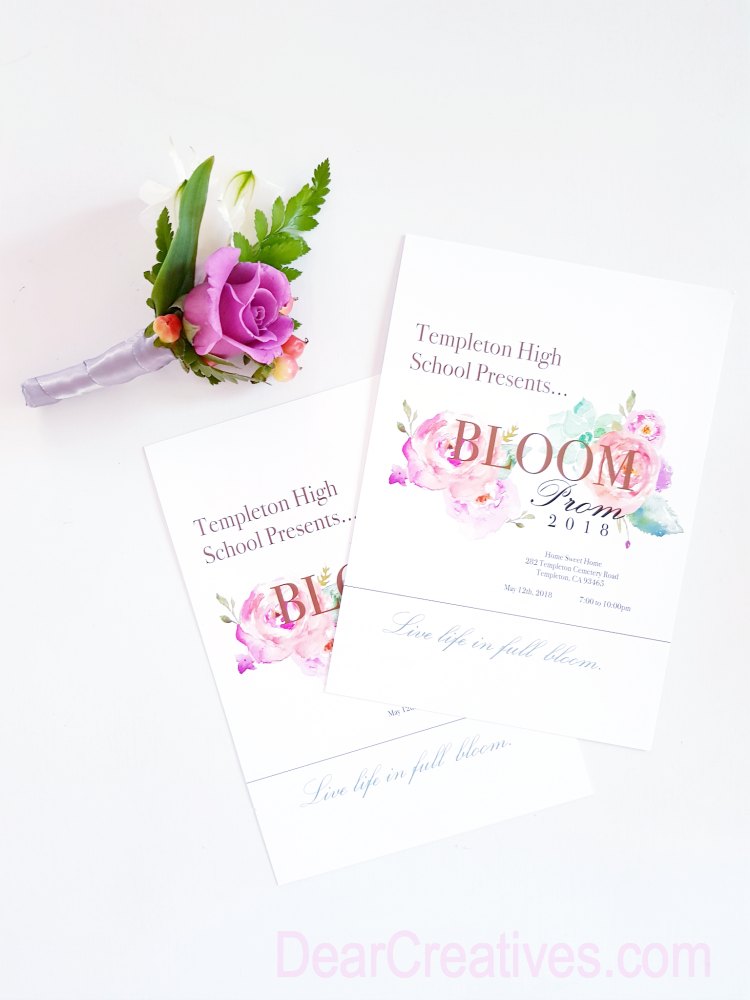
Many have curled ends, or you can have a straight end. I went with a straight end.
I think ours came out pretty good for the first time making one. What do you think? I thought so, especially since we used garden flowers, along with flowers and leaves pulled from a Mother's Day arrangement. Luckily we had their colors. Here are a few tips for grabbing your flowers.
When we did our daughter's DIY wedding flowers we pre-ordered and purchased our flowers from a grower. Picking seasonal flowers cut down the costs. Look for local growers nearby. Another alternative is to go to a flower market if you live nearby. Of course, if are only creating your own boutonnieres you will need fewer floral supplies. Consider grocery store floral departments, and florists. But, make sure you are getting the freshest flowers you can.
Cost vs. making? Well, that depends if are crafty. But, when purchasing the boutonnieres; on average pricing can be high depending on where you live.
DIY Boutonniere
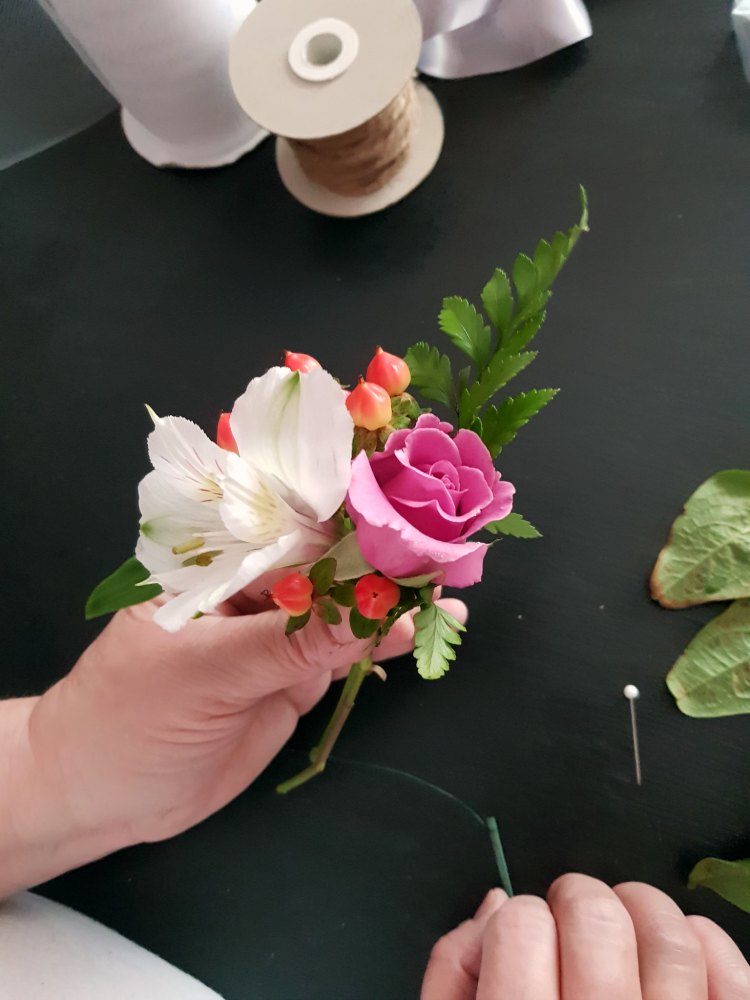
Pick smaller flowers. The white flowers and leaves are going to be placed against the jacket. Rose to the front of the arrangement. Before wrapping your flowers arrange them in your hand a couple of ways to see what you like best. Always keep your focal flower or rose in the front center. Trim bottom stems to be about 1-1/2 inches prior to wiring, and wrapping. Handle the flowers gently.
Tips for making a boutonniere
- Use fresh flowers
- Dried flowers such as baby's breath optional for filler
- Make sure your flowers, and buds are smaller
- Trim length to 1-1/2 inches
- Make stems reinforced with a floral pick
- Use floral tape to wrap around the pick, with wire entirely top to bottom 1 time
- Have flat satin ribbon (or another ribbon, twine, or flat burlap) to wrap 1 time from top to bottom covering the floral tape
- Hot glue at the top when starting, and at the bottom after tying off, trimming, and tucking in the end
- You will need 2 long straight pins with heads to secure to jacket
- You may need to hot glue a dot to the bottom of the flower to secure, only if needed (only using a tiny drop)
- Make them as close to the event as you can, and keep fresh flowers cool
- The finished length is around 1-1/2 inches (tutorial)
Supplies – Tools you will need for making a boutonniere/corsage
- Fresh flowers, leaves, and fillers
- Scissors
- Possibly, a wire cutter
- Straight Corsage Pins
- Floral Picks
, and Floral Tape
or Floral Arrangement Set
- Satin Ribbons


Need more help? See a few more ideas on how to make a boutonniere.
Tutorials to help you make a boutonniere:
- WikiHow How to Make a Boutonniere
- SaveonCrafts How to Make a Boutonniere
- Step by Step video DIY Basic Boutonniere
Have you ever tried making a DIY boutonniere?
- New here? Don't forget to subscribe!
- Pin it for Later
Looking for more projects to DIY for a wedding?
- Mr. and Mrs. Chalkboard DIY
- DIY Wedding Ideas(And how my daughter's wedding turned out+ photos)