DIY Upcycled Utensil Holder Match Your Party Theme!
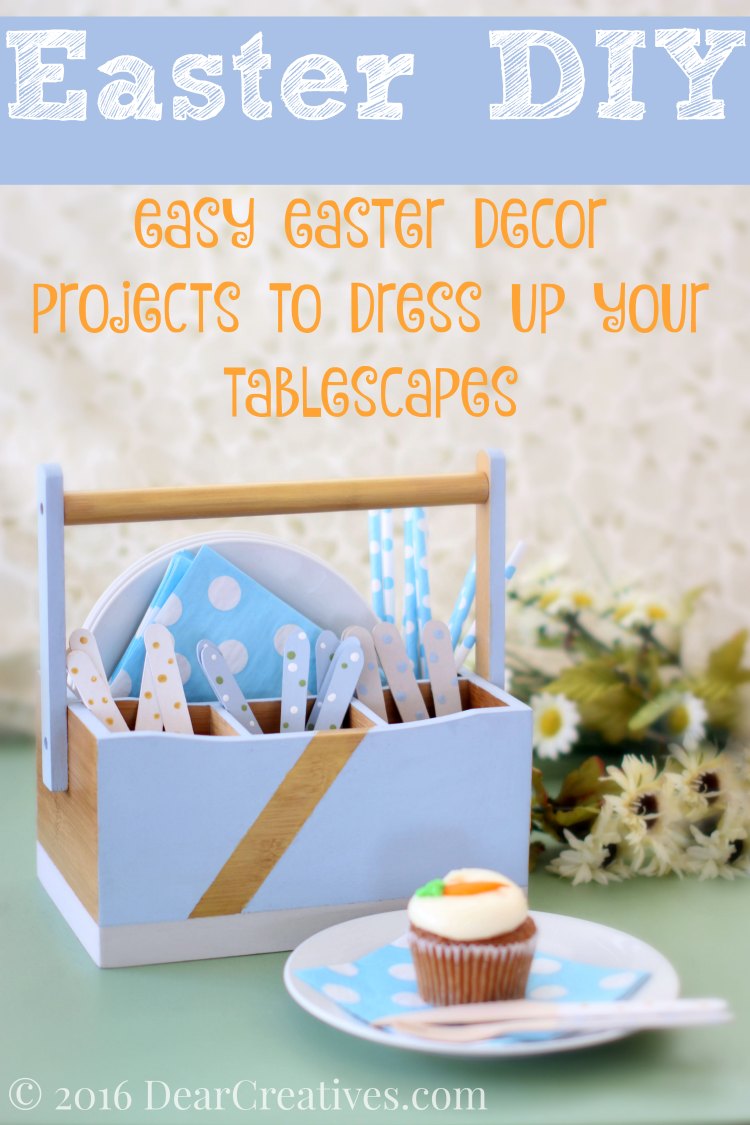
Have you ever upcycled utensil holders? The other day I started on my Easter decorations. I decided to upcycle a wooden utensil holder. In the spring and summer, we love spending time in the backyard. Eating outdoors, and entertaining. I thought it would be fun to paint my new wooden utensil holder and make it prettier.
When you are done with this DIY or if you are looking for other Easter crafts here’s where to find all our spring craft ideas.
I used my utensil holder for Easter but, it can be used for any table setting or picnic table or other occasions you are having a gathering; such as Mother’s Day, Father’s Day or the Fourth of July and even Christmas.
Since we were planning a brunch for Easter I decided to paint the wooden handles of the utensils we were going to use too. I think you’ll find this tutorial very easy.
The DIY Home Decor is easily adaptable to suit your back yard themes or parties. Pick your paint colors and style to fit your themes. I have listed my paint colors in case you’d like to make yours the same colors.
What’s handy about this project is that you can use the utensil holder every day if you’d like. I set mine in the center of my lazy Susan that sits on my dining table. It’s perfect for holding napkins, forks, knives, spoons, and straws. Double the use.
Upcycled Utensil Holder
For my upcycled utensil holder I used a color blocking pattern. This gives it a look that you can use all year long. Then I added the festive polka dot pattern to my wood utensils. (keeping the paint away from the eating area is essential! No paint should ever be covering any eating areas where your mouth may touch) They will not be reusable. But, the products are compostable and this was quick and easy to do.
You don’t have to use disposable items if you’re trying to be green. You can use cloth napkins and silverware. I do this for everyday use.
Supply List
What you need for today’s DIY
- Paintbrushes #1 flat and an angled brush
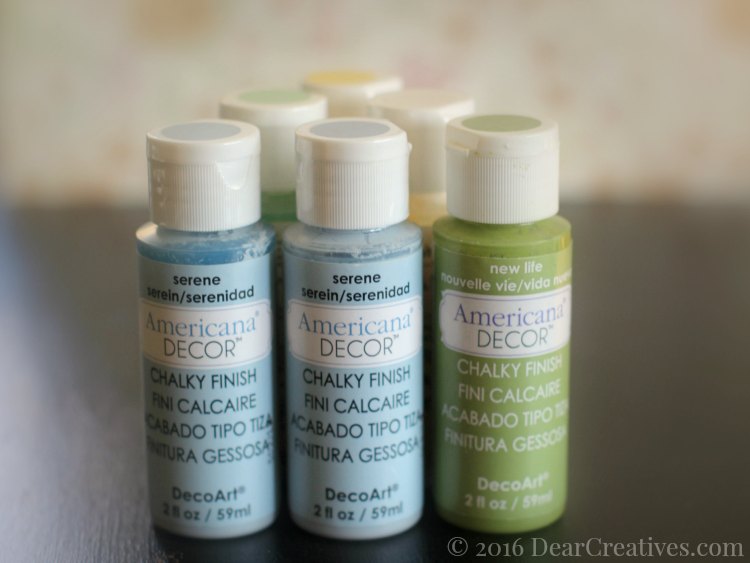
- Chalk Paint The colors I used are: primitive (hint of grey), serene (light blue),everlasting(creamy white), new life (green)
- Yellow Gold Multi-Surface Metallic (gold) *this paint is slightly translucent and will show wood grain even with several coats
- Optional: Other colors I love for a spring look are delicate (a pretty yellow) and refreshing (mint)
- Container for paint (I use recycled)
- Water for rinsing only
- Towel (old clean) or paper towels
for wringing brushes dry
- Painters Tape
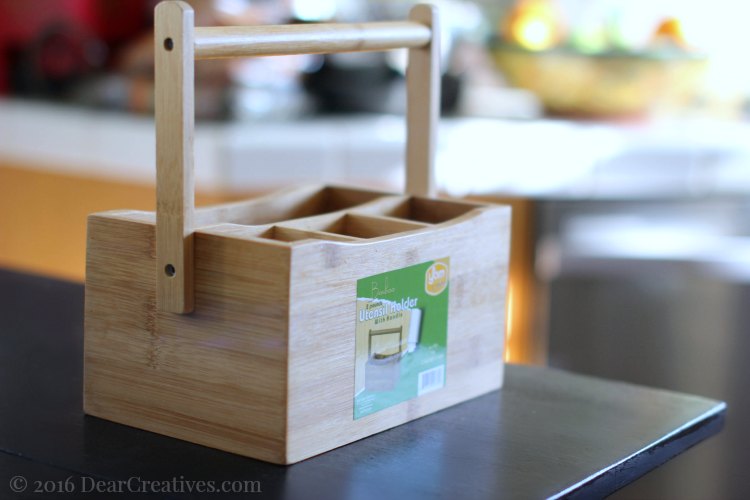
- Utensil holder / cutlery caddy
- Wood Utensils I used Perfect Stix 36 piece Green Compostable Cutlery Kit which includes a fork, knife, and spoon (set of 12)
If you are looking for paint to match your theme, you might like this paint sampler.
What’s in my utensil holder
- Straws
- Luncheon Napkins
- Dessert plates
- Matching paper plates but, I’m using my dessert plates.
- Upcycled wood utensils
How to Upcycle a Utensil holder
You’ll need to take the sticker off of your utensil holder if it’s new. Make sure to scrub off any glue residue. Sand lightly if necessary.
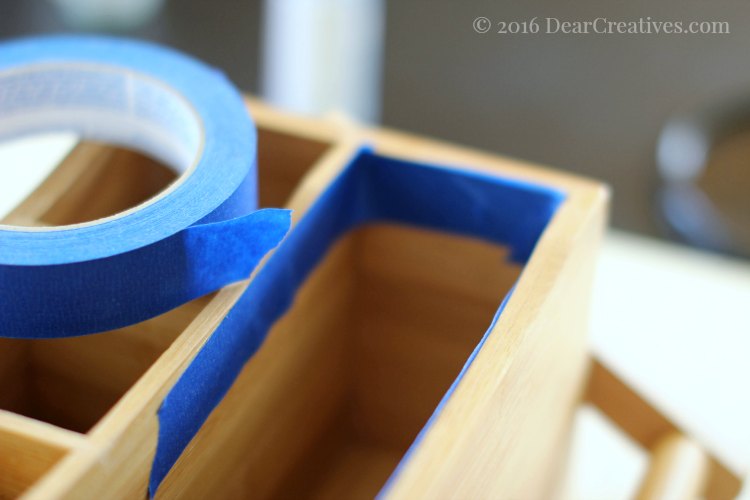
I have to admit I didn’t want to paint the inside of the utensil holder/caddy. If you are good at painting you can use your flat angle brush and not have to tape it off. If you aren’t quite at this level, it’s wise to tape off areas you don’t want to have painted. I used painters tape for the rest of my project and will show you how to.
- Tip: Have a clean older cloth or towel that is damp nearby to wipe off any mistakes right away!
How to paint color block
Upcycled Utensil Holder Steps
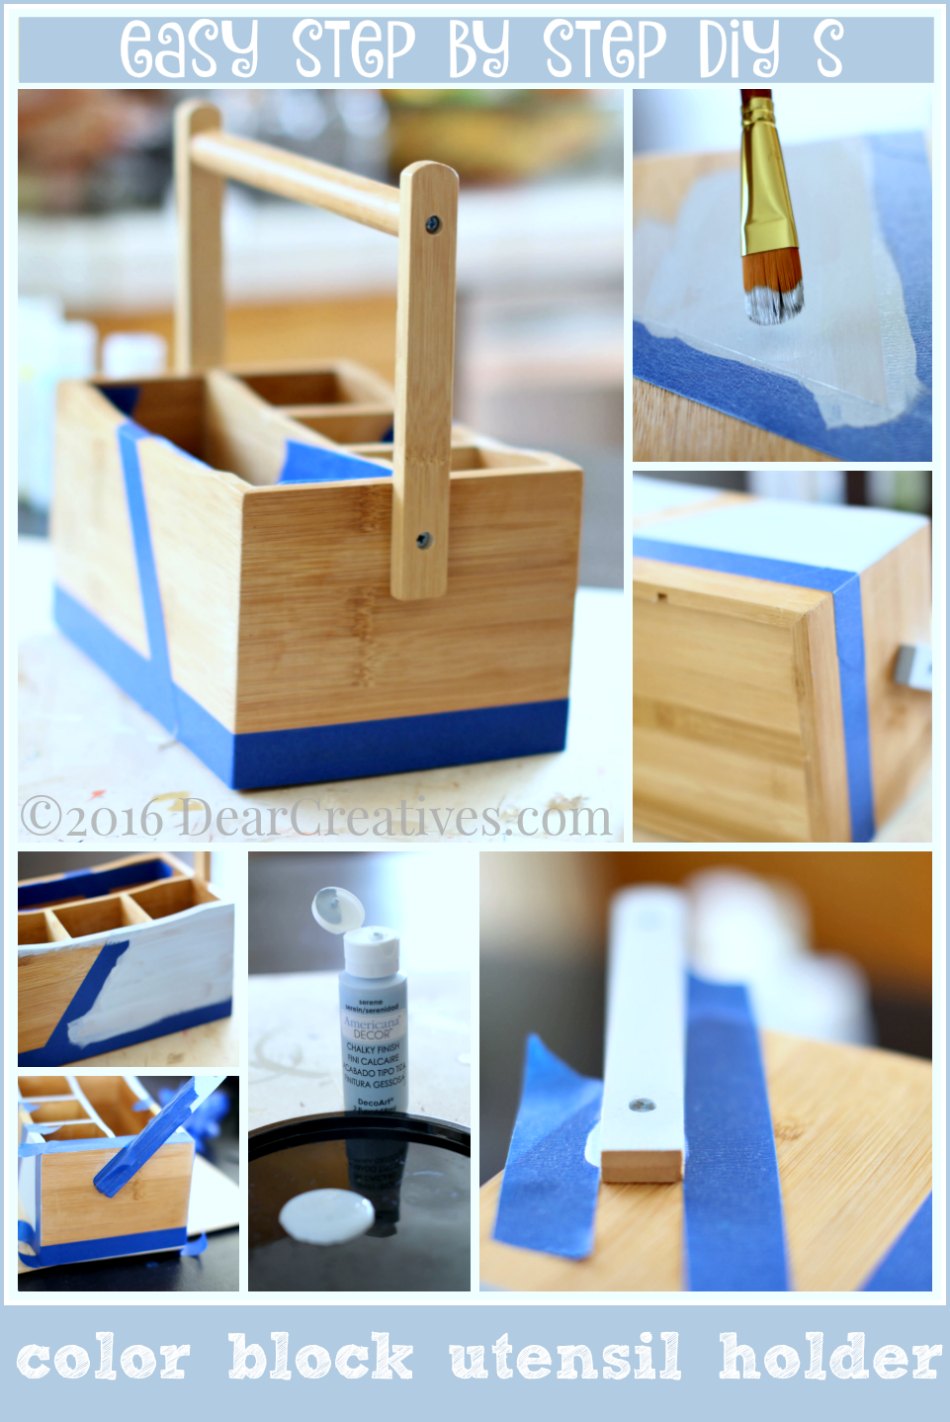
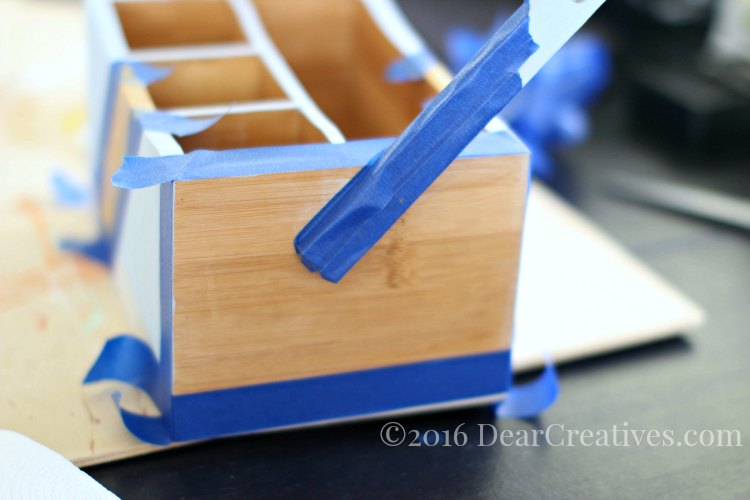
- Tape off areas (inside if needed) Diagonal line on both sides and bottom line around the entire caddy
- Paint with blue chalk paint (serene)
- NOTE: Do not paint ends of the caddy on each side! If you need to tape this off do so.
- Let dry
- Next, tape off next to handles. Paint with blue chalk paint on outsides only and let dry
- Remove all tape
Tips for Painting a color block style
Next, I taped off any blue areas I didn’t want gold and proceeded to paint the gold with two coats, allowing for dry time between coats. Dry time is quick if your house is warm. You’ll have to rotate the handle when painting underneath it, you might have to wait for one side to dry and go back.
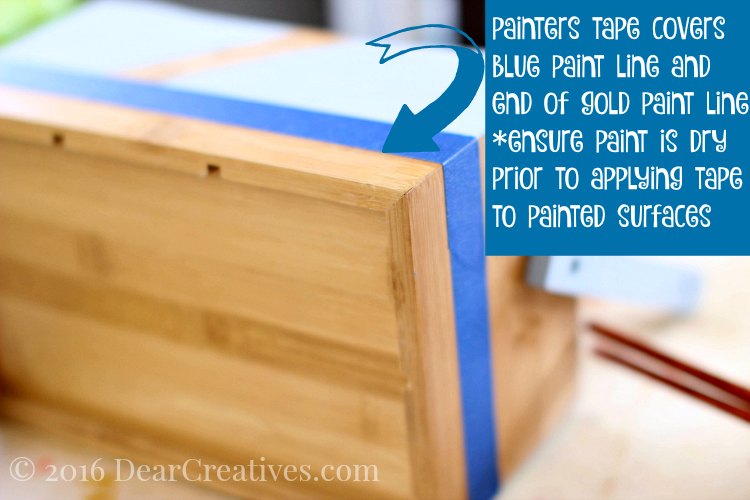
- NOTE: Do not tape off painted areas unless they are completely dry!
I painted the handle, ends of the caddy, diagonal line and inside of handles gold.
Lastly, paint primitive grey strip all the way around the bottom of the caddy. This is why you see the painters tape on the bottom in the first DIY section covering where grey will go. You will remove that tape prior to painting grey area. Then when the paint is dry apply painters tape at the base of already painted areas. As shown in the image above. Let paint dry completely and touch up lines as needed. Using an angled brush for lines and corners is best!
- If you have any questions just ask by leaving a comment! I’m happy to help.
DIY Easter Decorations
How to Paint The Wood Utensils
It’s really quick to paint the handles of the wooden utensils!
Can you paint wooden utensils?
-
Do not paint any area you will eat from!
-
You can paint the handles but not the areas you will eat from. Be sure to keep any paint away from the mouth bite area.
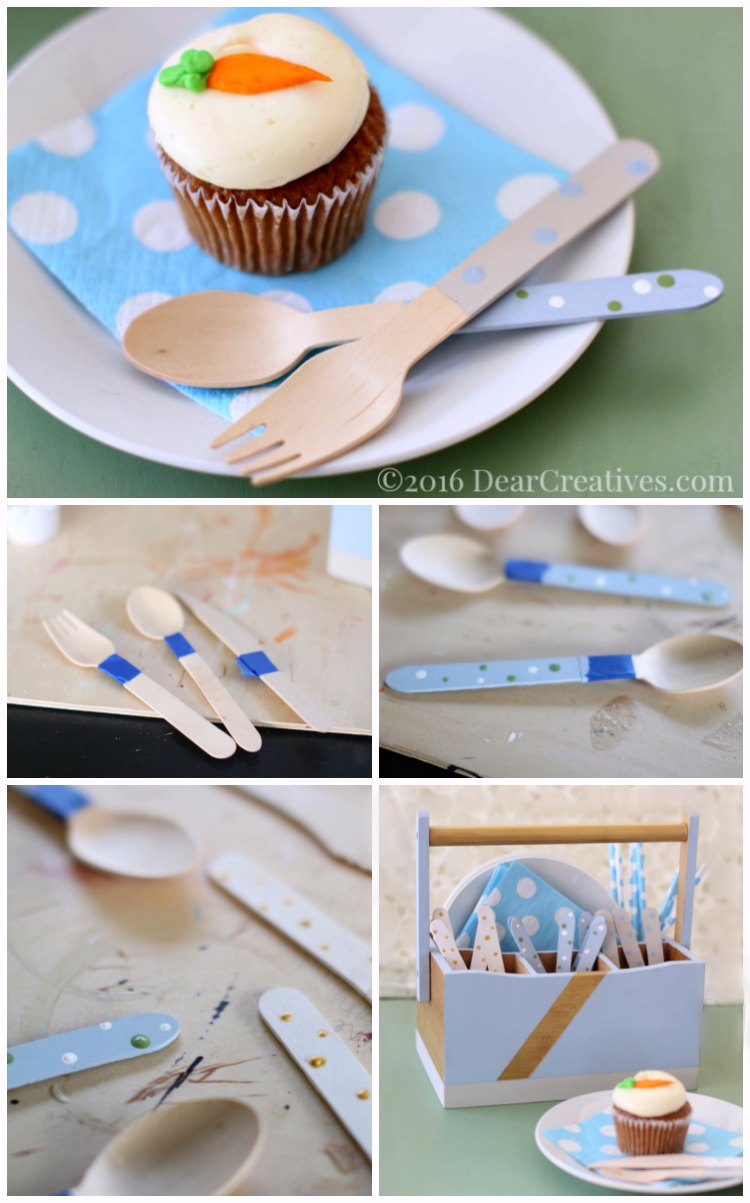
- Tape off close to end of utensil at the eating area
- Give each utensil a quick coat of the chalk paint I used a different color for fork, knives, and spoons
- Let dry
- Take the end of your paintbrush and dip into paint make dots with the paint (they dry flat)
- Note: When changing colors to wipe the end of your brush clean prior to adding new paint color
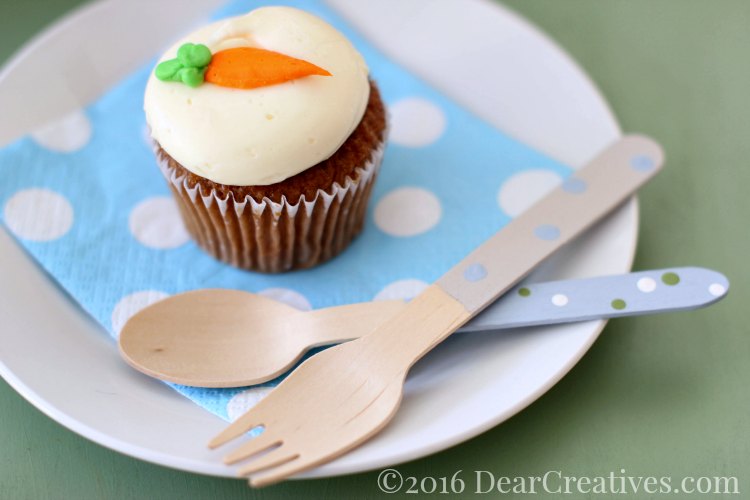
- Make them as festive as you like I did three different styles
Now your ready to have any brunch celebrations or picnics in style! What chalk paint colors would you paint your utensil caddy?
Today’s post is brought to you by DecoArt I’m one of their core bloggers. You can find many of my projects here DecoArt’s site, along with other bloggers/artists and crafters. Or right here on my site by viewing DIY and craft galleries.
Be sure to subscribe to all my upcoming crafts and add us to your inbox. Never miss out! Planning on making, painting or crafting for spring? You might like this fan-favorite chalk paint set.
- New here? Don’t forget to subscribe and add us to your inbox!
- Making a lot of spring projects? You might like our favorite paint set.


So cute and festive! My daughter would have so much fun working on these projects with me 🙂
Hi Sonali, Thanks for stopping by. Yes, it’s fun to include the kids. Mine was at school when I painted on this day. But, when I have them out she usually likes to do a project or help too. I’d love to see it if you get out some paints to do one.
What a super cute idea!!! I host Easter every year so I think I’m going to give the utensil holder a try!
Hi Phyllis, Thank you. You should it’s super easy and a fun project. Share it if you paint one!
Oh my gosh this is awesome!! I pinned this one since I would love to try and create something like this!
Hi Lauren, You can easily make one. Hope you do! Be sure to share it with me if you do.
These are absolutely adorable and perfect for giving your Easter table an extra special touch!
Thanks Bev! For stopping by & the complement. Take time to paint one!