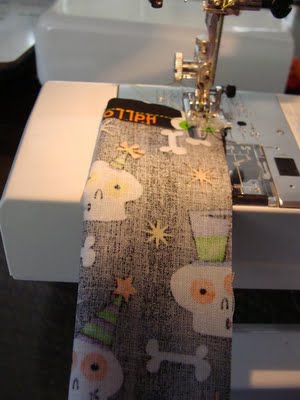
Halloween Candy Bag Bottom Steps 3 & 4
This post contains links to affiliate websites, such as Amazon, and other affiliates. We receive an affiliate commission for any qualifying purchases made by you using these links. This is at no additional cost to you. We appreciate your support!
Steps 3 & 4
Directions under picture~
 Image – Turned and ready to top stitch which closes turning hole~
 Image – right sides together and sew leaving 2″ hole
#1 With right sides together match your fabric and stitch all the way around leaving a 2″ opening for turning. Do the opening in the center and not on the corners. This will allow your corners to be clean. When doing your corners
#1b (tip) sew across the fabric when you reach the corner leave your needle in and lift the foot of the sewing machine and pivot to your new direction. Continue to sew until meeting your opening leaving a 2″ gap for turning.
#2 Turn your fabric inside out. Clip the fabric at the corners on a diagonal.
#3Take it to the iron and press it flat.
#4 Go back to the sewing machine and top stitch the entire piece which will close the hole and give it a bottom finish~


