Pretty Felt Woodland Banner #DIY Part 1
Well the count down to NYC has begun. I’m trying not to panic. No matter how early I have started projects there has been life, blogging jobs and just being a mom interruptions. This is all natural, if you are a sewer, crafter, artist or DIY er and mom you can probably relate. You have multiple projects on your tables at any given time. Some just started, some near done or some your putting the final stitches on. Today I am sharing a WIP that I am finishing up. This is going to be a pretty woodland banner that I will string together and add some other easy DIY touches too.
First I had to think about what kind of animals and woodland things I wanted to draft up to create my woodland banner. Next my thought process had me thinking of what supplies I did have on hand and what I needed to order. Then I cut out my own patterns and used some templates by drawing sketches onto a thicker tracing type pattern paper.
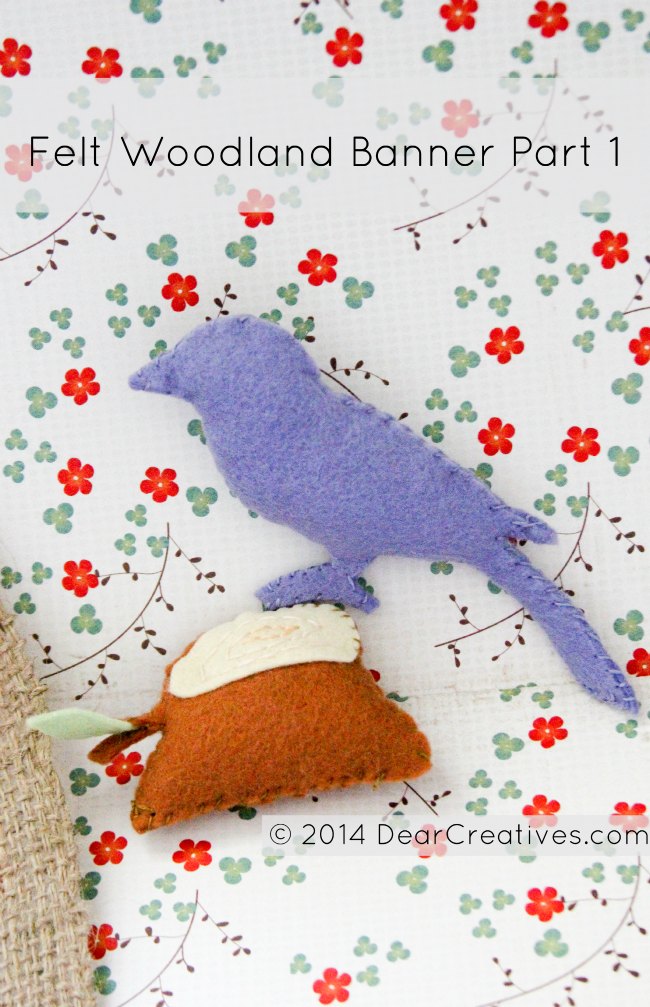
I am making this for my daughter Laura’s new baby but, I’m so in love with working with the felt. I drafted up a cute bird by using my Cricut cut image as a template, the stump is my own drawn woodland image. Sewing details with embroidery floss.
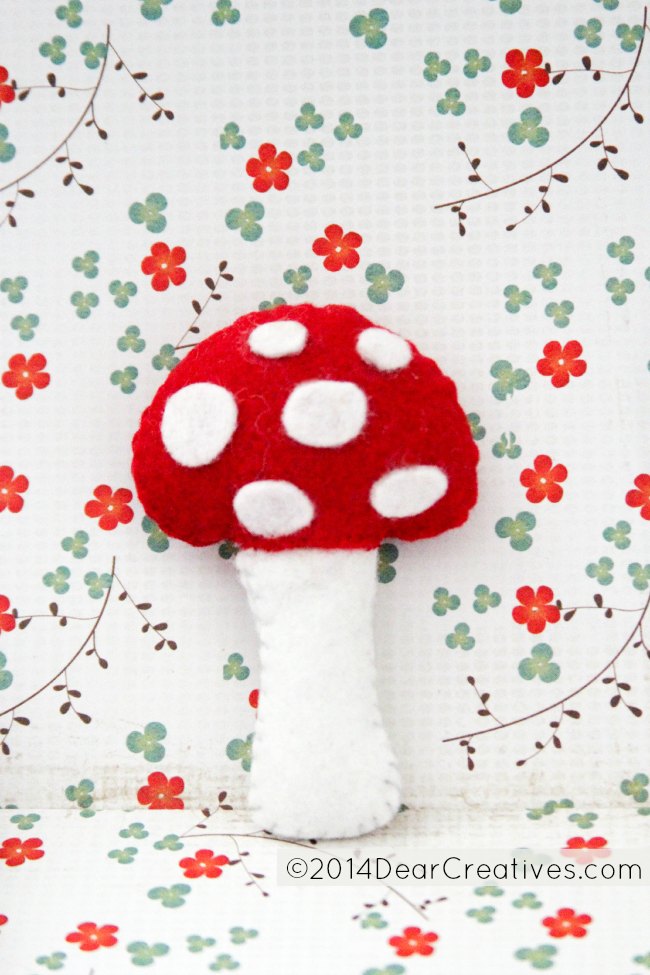
If you have read the blog for anytime now you know I love nature. I created some mushrooms for this Smurf Cupcake post to put into the background. Of course I had to hand draw and cut mushrooms for this banner.
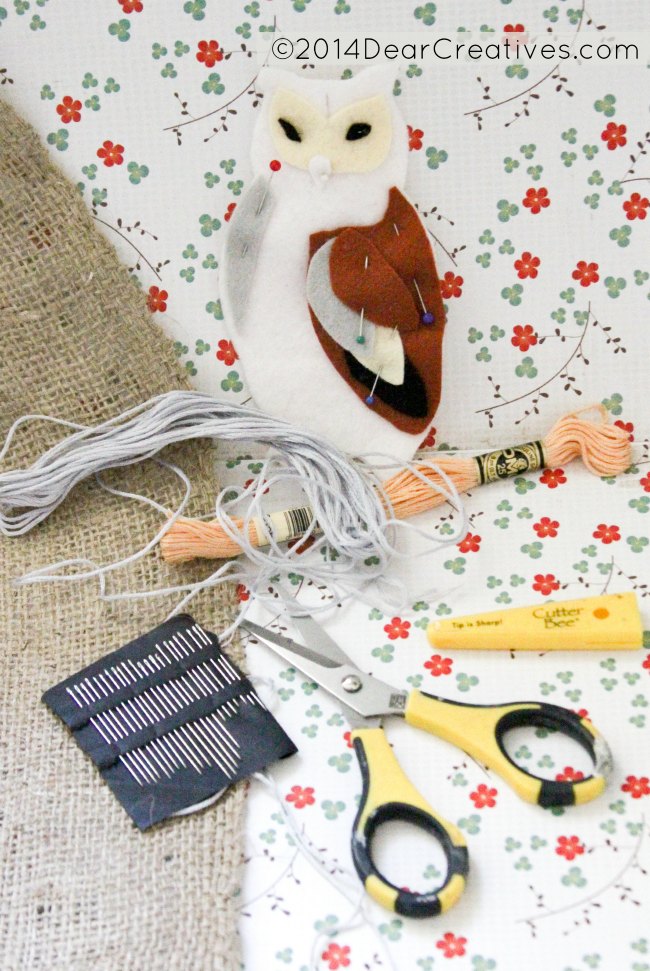
To make things easy on myself I’ve cut out all my little woodland creatures first from the felt supplies I purchased. My favorite scissors for detailed work is these Cutter Bee Scissors. Having straight pins with a head that can hold multiple layers of felt is important. I use the cutter bee scissors for paper-crafting, embroidery and any detailed cutting. You can see I’ve messed up the handles by using with my hands full of paint when doing mixed media work. I hadn’t done embroidery in a long time I referred back to this Creativebug online embroidery sample class.
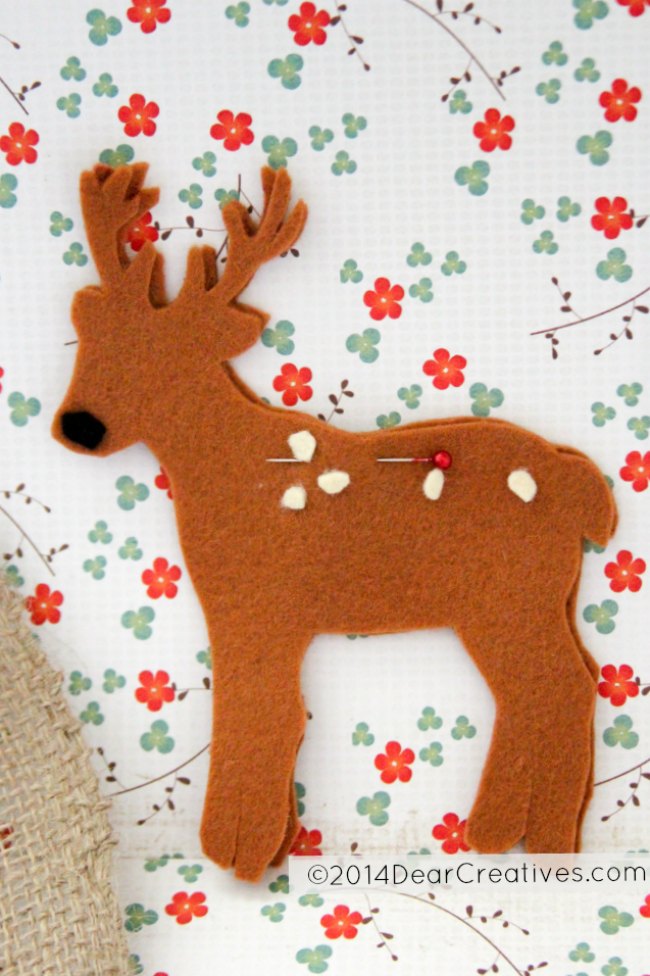
My favorite threads for this are DMC Embroidery Threads. I usually use two to three strands depending on what stitches and detailing points I am working on. For the deer I am going to embroider the eyes on and when I stuff it I will use little, tight stitches and a polyfill stuffing.For this deer I used my Cricut to cut it out on paper and then made adjustments and additions. If you draw or don’t draw using tools like a Cricut can save you time. When I have more time and a new cutting mat I might try cutting felt on it. They have a new machine out Cricut Explore where you can even use your own designs…. I haven’t upgraded yet but, I hope to.
I am not quite sure how I want to string the woodland animals together. Ribbon, natural twine or… but, I do know that I will probably add the natural wool balls to included the banner. I promise to share when it’s completed. And if we get it up in the baby nursery when I’m there I’ll shoot a shot of it hanging to share too! 7 days until NYC Woot!
What projects or felt projects are you working on?
Related DIY posts you may enjoy:

P.S. Have an absolutely wonderful time in NYC!!
Hi Jen, Thanks for stopping by and I will for sure!
This is absolutely adorable, and I can’t even see it all. I love felt, and enjoy seeing what amazing things others do with it 🙂
Thanks Channon for dropping by and glad you like the banner.
Theresa – these are soooooooooooooo Pretty!!
I absolutely love them 🙂
Thanks Winnie, Glad you like them. I can’t wait to finish them up and string them.
I love felt. it looks lovely
Hi Joanna, Thank you it is very nice felt. I love working with it. I’ll be sure to share project when it’s done.
This is so cute! I’m a sucker for garlands of any kind and this one is so unique. Pinned!!