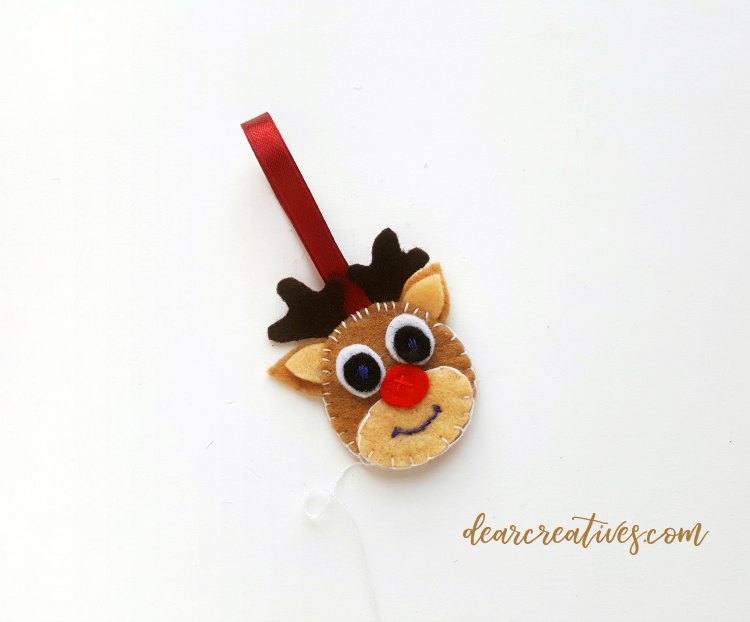
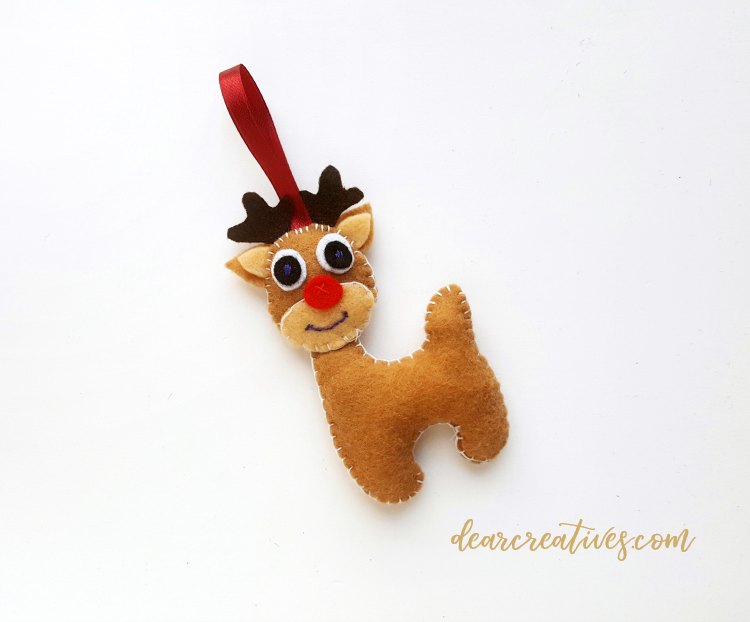
DIY Reindeer Ornament
Are you ready to make a reindeer ornament? We are going to be sharing a new felt Christmas ornaments to make. We love felt crafts because it’s so easy to make things with felt, really anyone can do it! We were inspired by our favorite character for the holidays. Can you guess who? Rudolf the red-nosed reindeer. So we thought, why not make a felt reindeer ornament?!
Reindeer Ornament

If you love reindeer Christmas ornaments, we hope you like our diy reindeer ornament. We think it will look so pretty on the Christmas tree as a homemade Christmas ornament.
Are you ready to do a bit of holiday and Christmas crafting? When your done with this craft be sure to check out all our Christmas Craft Ideas
Do you like making felt Christmas decorations? Or maybe you would like to do this craft as a fun Christmas craft activity with the kids? This felt craft is a fun Christmas craft idea that can be made by older kids, or for teen crafts too.
DIY Reindeer Ornament
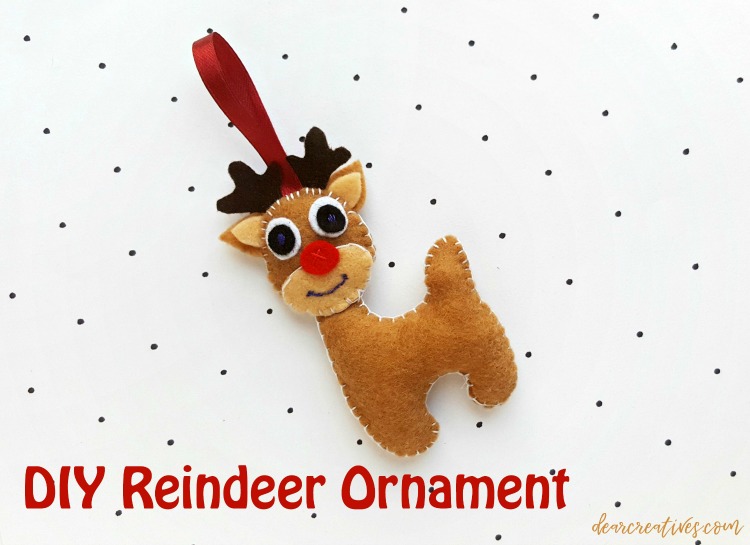
Felt Reindeer Ornament
This can be a fun Christmas Craft Activity for adults, teen crafts or crafts for kids if you want to teach them easy hand sewing and embroidery skills.
List of Crafts Supplies
- Felt fabric
 – light brown, dark brown, black, white, cream and red.
 - Pencil or pen – to trace patterns on felt
- Scissors
- Embroidery Needle and embroidery thread (kids embroidery needles)
- Ribbons – 1 cm wide and length of your choice.
- Reindeer Template
- Optional (thread protector)
- Optional ( thimble – finger protector )
 – light brown, dark brown, black, white, cream and red.
 and
and  (
( )
) – 1 cm wide and length of your choice.
 )
) )
) If you want a NO SEW option use liquid glue like liquid stitch or instant fabric adhesive

 or a
or a and
and  .
. Need to learn some basic embroidery stitches?
- Basic Embroidery Stitches (Embroidery Video Tutorial)
- (Blanket Stitch Video Tutorial)
- (14 Basic Embroidery Stitches)
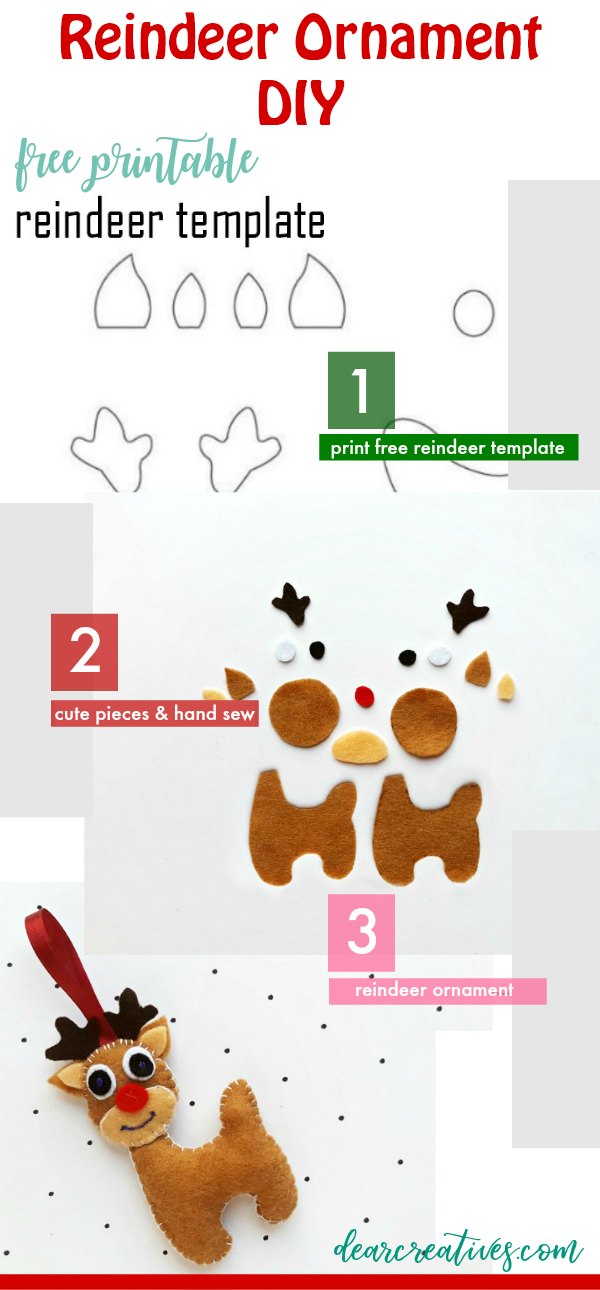
How to make a reindeer ornament
Before step one Print the Reindeer Template
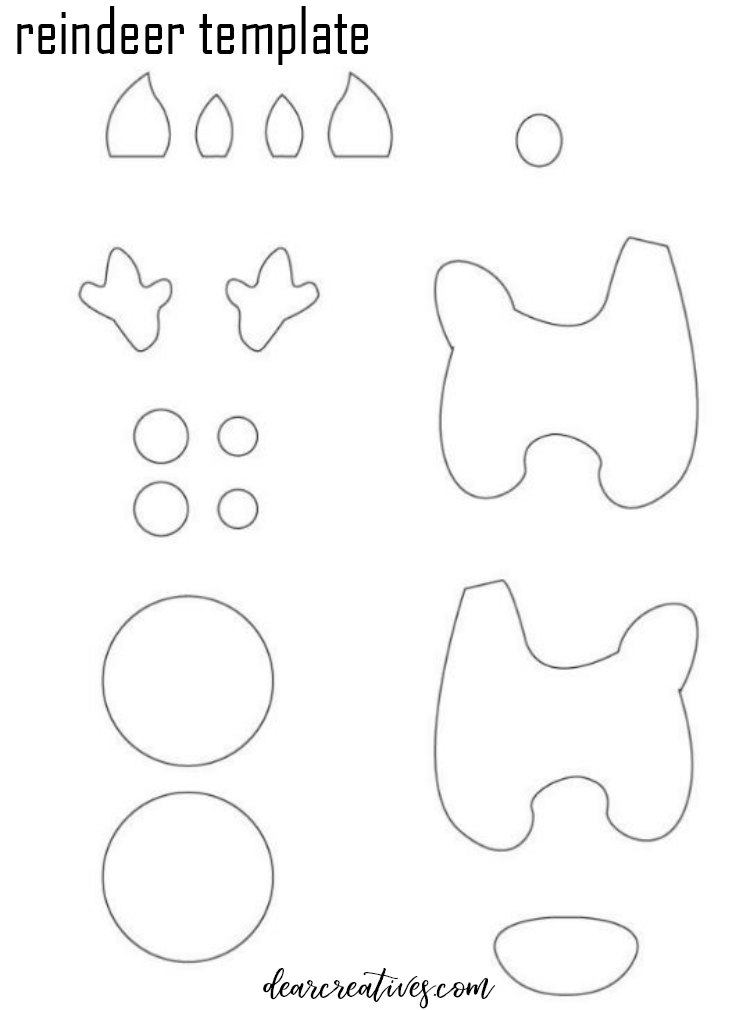
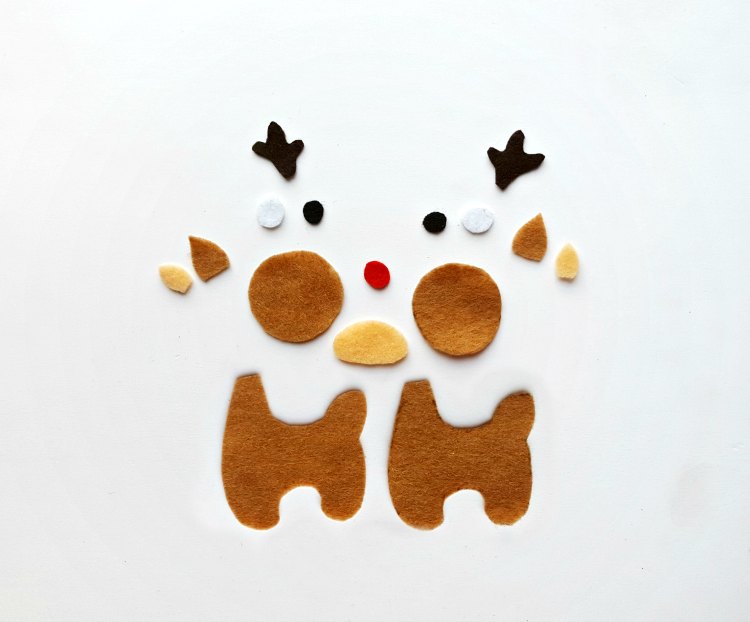
Then cut your pieces of felt. Your pieces will look like this.
Step 1:
Select the felt fabrics for the reindeer plush and trace the patterns from the template on the selected felt fabrics. Except for the nose and the bottom part of the head; each of the parts (patterns) has 2 pieces.
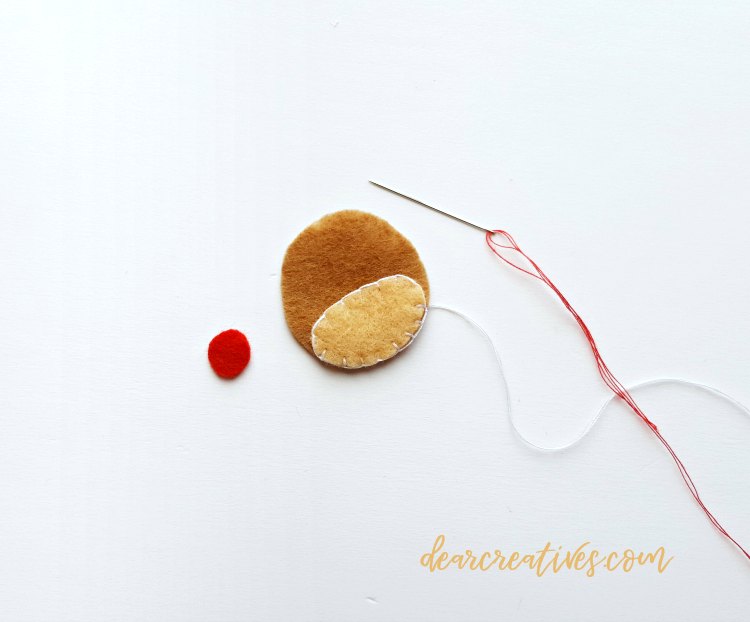
Step 2:
Take any one of the head patterns, the nose and the bottom part of the head. Prepare needle and thread. Place the bottom part of the head on the head piece, match the bottom end of both pieces and start to stitch.
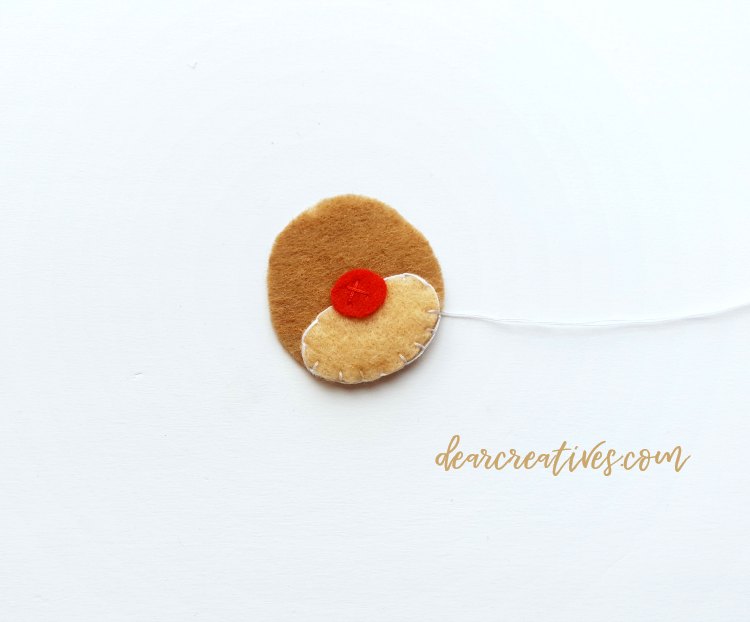
Step 3:
After stitching the bottom piece, stitch the nose (red round piece) on its place, on the head.
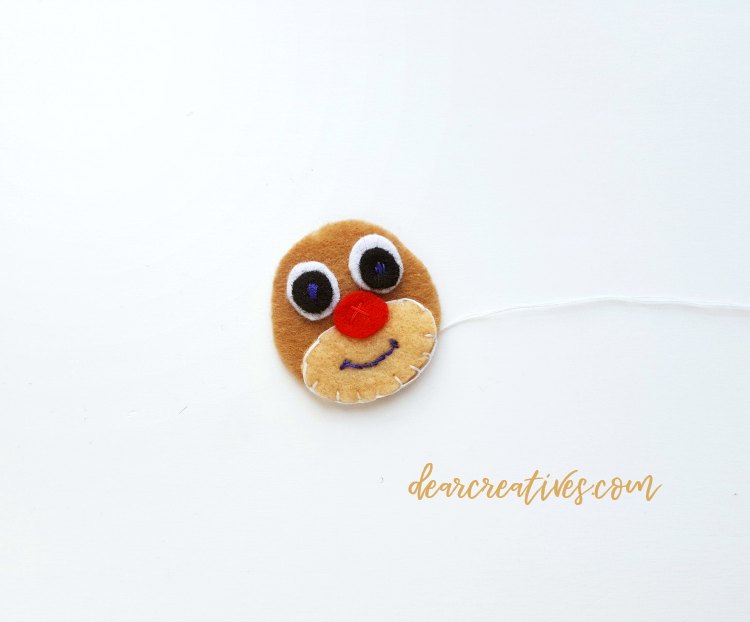
Step 4:
In this step stitch the eyes. Place the black round piece on the white round piece and then stitch them on their position, above the nose.

Step 5:
Place the inner ear parts inside the outer ear parts. Fold the ribbon into half. This step shows the arrangement of the ears, horns and the ribbon (hanging mechanism).
Step 6:
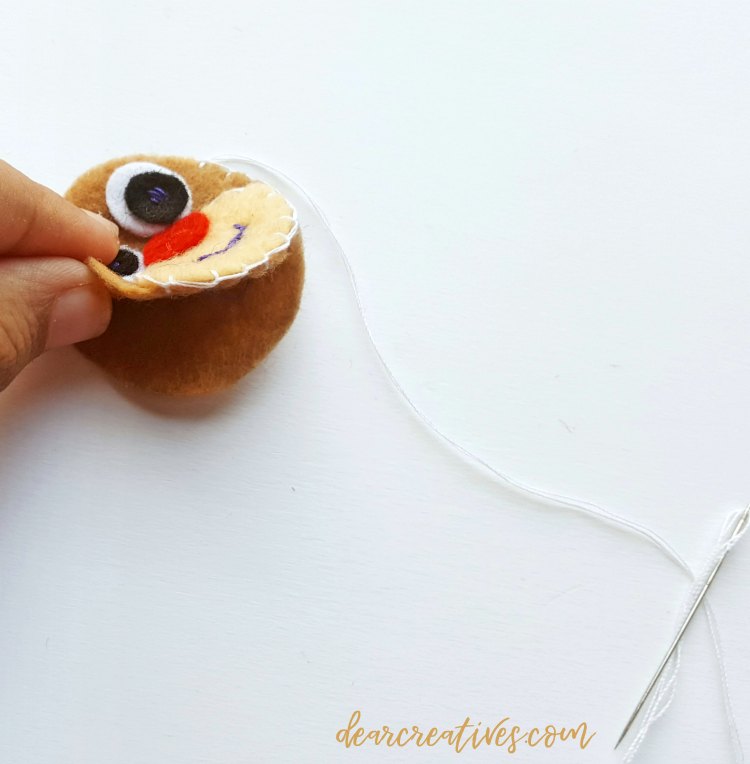
Take the front part of the head (prepared in step 2, 3 and 4) and place it on the top of the other head piece (the plain one). Start to stitch both pieces together along the sides. Start the stitch from either left or right side.
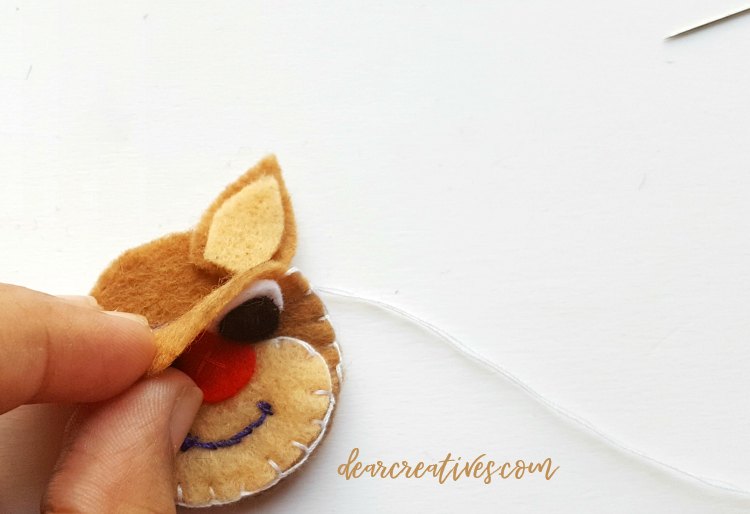
Step 7:
Once you reach the ears’ position, take any one of the ears (with the inner and outer layers attached together) and slightly tuck a small amount of it between the 2 head parts. After stitching the ear, stitch the horn next to it.
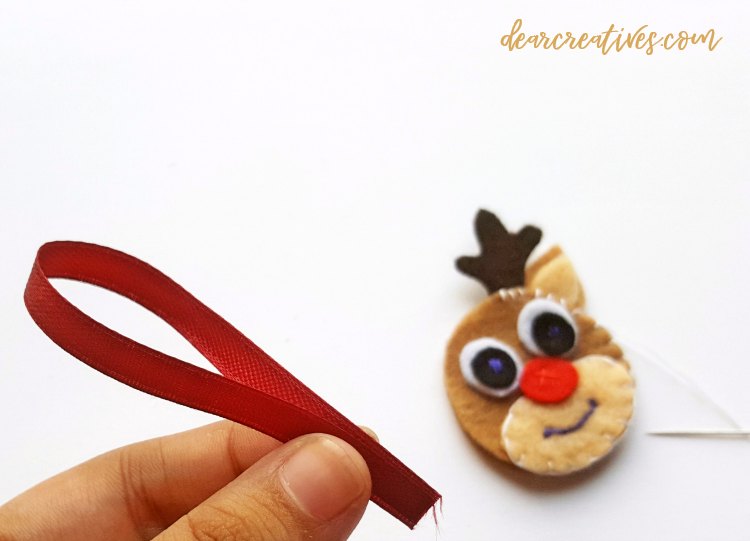
Step 8:
Take the half folded ribbon. Make sure to match the open end of the ribbon.

Step 9:
Tuck about 2 cm of the ribbon’s open ends between the 2 head parts.
Step 10:
Once again, stitch along the sides to attach all items together (the ribbon, ears, horns, front and back parts of the head).

Step 11:
Stop stitching after almost reaching the bottom side of the head. Keep a small opening for stuffing. Do not close the open end on the bottom side of the head after stuffing; keep it open.
Step 12:
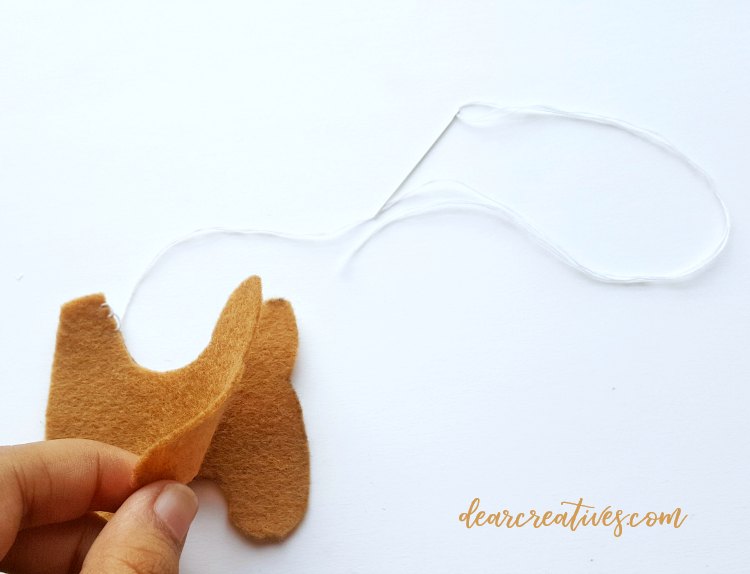
Take the 2 body parts and place them together by matching all sides. Stitch along the sides to join both pieces together.
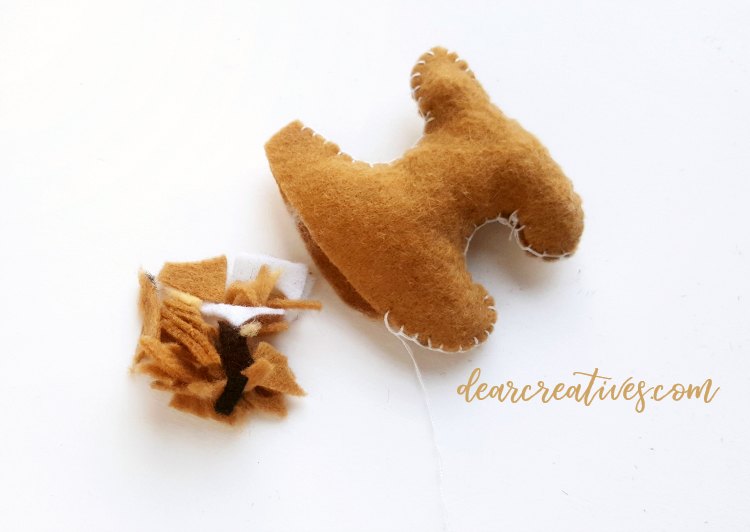
Step 13:
Keep a small opening for stuffing. I used left over felt fabrics for stuffing. Cut the left over felt fabrics into small pieces and use them for stuffing.
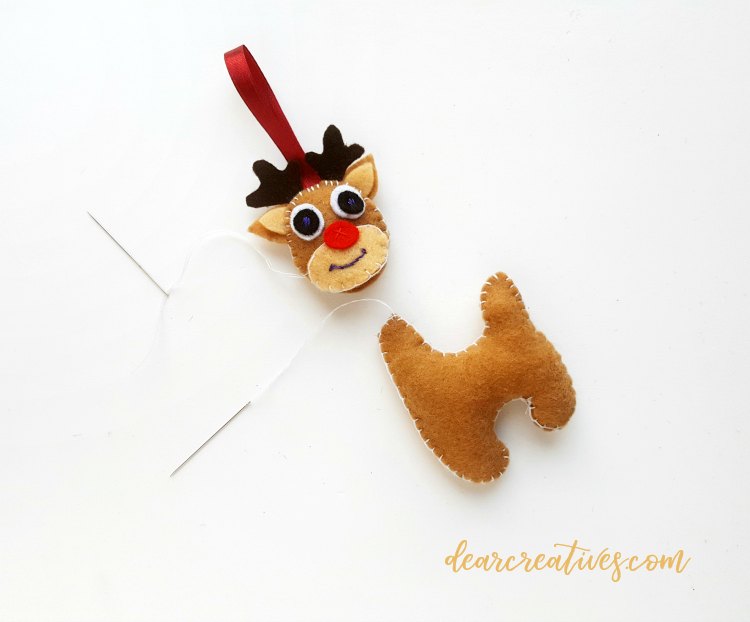
Step 14:
Close the open end of the body after stuffing. Insert about a cm of the neck inside the open end of the head.
Step 15:
Stitch the neck and the head together to complete the reindeer ornament.
Tie 2 or 3 tights knots and then cut off extra thread once you are done stitching.
- New here? Don’t forget to subscribe
- Pin it for Later
- Christmas Craft Ideas
- Felt Crafts
Helpful resources for making reindeer ornaments
If you are new to embroidery this video may help you make a reindeer ornament or a reindeer broach. It’s in a cute Kawii style.
Embroidery Books
Patterns for felt reindeer ornaments