Retro Ornament Tutorial
Dear Creatives, I am delighted to have Amanda from Enchanted Revolution guest posting for me today! She is sharing this Retro Ornament Tutorial.
Hi Dear Creatives, Amanda Mullins here;
My love for the arts and crafting started very early. I have been drawing pictures since I could pick up a pencil. Growing up we didn’t have a lot of money so I was always looking for creative ways to use what we had or find a way to do something on the shoestring budget. I made lots of dolls and paper projects as a kid. My grandmother was quite the seamstress and crafter herself so there was always an opportunity to work on a project with her. Throughout high school and college I studied art, theatre, costume and make-up design.
My drive for art, crafting or doing anything creative has continued to grow, so in January 2011, I decided to open Enchanted Revolution on Etsy. I also started blogging about my art, crafts, and DIY projects at www.enchantedrevolution.
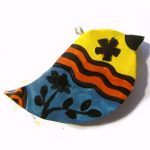
Retro Ornament Tutorial:
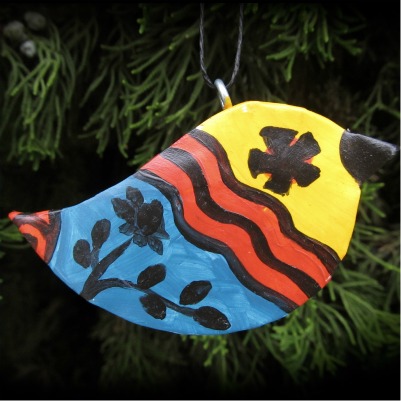
I was looking at some 1960s textile designs and was inspired to create some retro looking partridge ornaments. These can make great gifts this holiday season!
Here is what you will need:
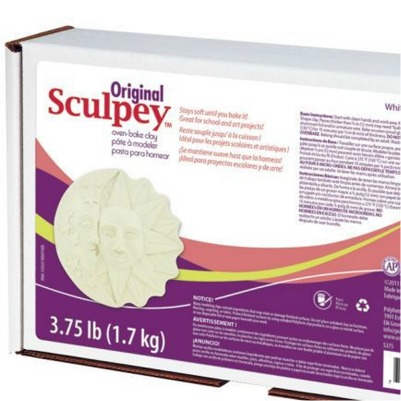
- Sculpey or other polymer clay
- Stencil (freehand sculpting is great too!)
- Screw eyes, jewelry eye pins or wire for hanging
- Acrylic paint (any colors of your choosing)
- Paint brushes
First draw or print this stencil to the size you like. My ornament is about 2” by 3”.
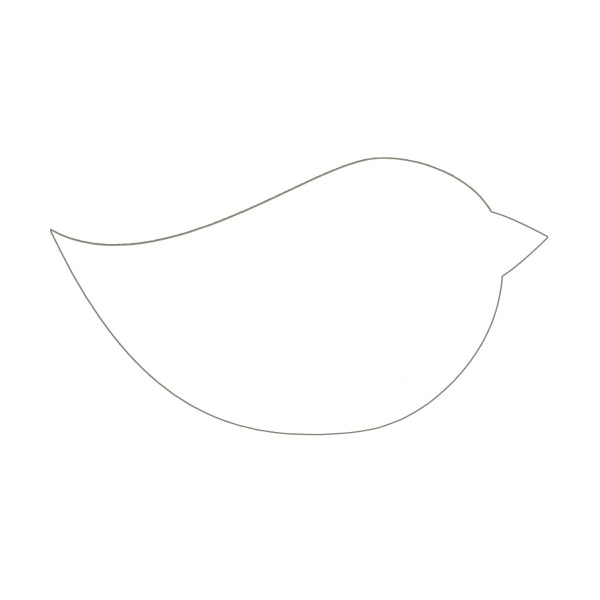
Printable –Template PDF
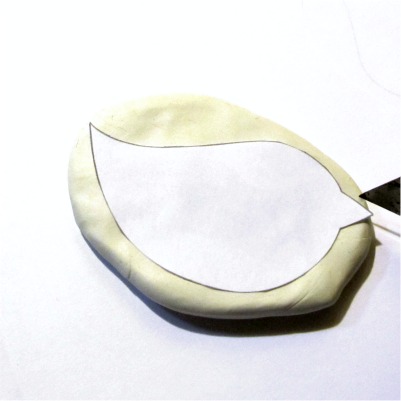
Next, flatten or roll your clay out about ½” thick and big enough to accommodate your stencil.
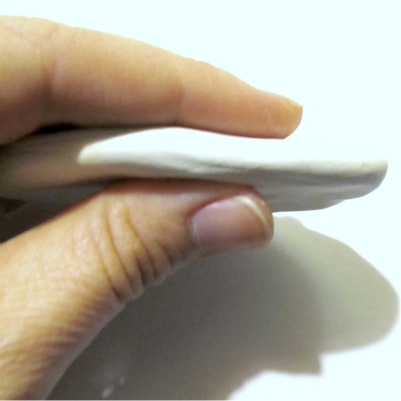
Place your stencil over clay and cut out with exacto knife, or razor blade (A butter knife will work as well. Great if you are doing this project with kids!).
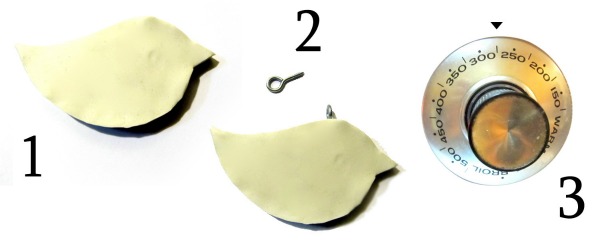
Now you should have a cute bird shape. Place jewelry eye or wire into top prior to baking. Next place piece on foil covered cookie sheet and bake at 275 for 15 minutes.
Click image to enlarge
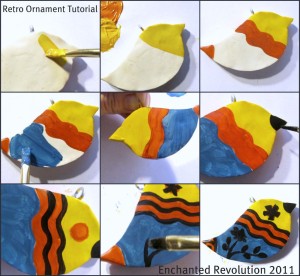
Next paint your partridge. You may follow along with the design I am doing or any motif you like. Paint both sides the same or mix it up with two different styles.
Click image to enlarge
Here is what it will look like completed!
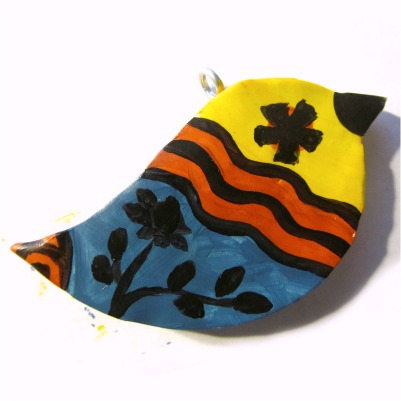
Ready to hang on the tree (use a heavy thread or an ornament hook). I have also been known to wear these as necklaces! They are a great addition to a boho or funky outfit.
Hope you enjoyed this tutorial! Amanda

